How to Revive a Dying Hibiscus Plant: Expert Tips for Gardeners
As a passionate gardener, I’ve encountered my fair share of plant problems. But few sights are as disheartening as a once-vibrant hibiscus withering away. If you’re facing this dilemma, don’t lose hope! With the right approach, you can breathe new life into your struggling hibiscus.
Did you know that hibiscus plants are incredibly resilient? Despite their delicate appearance, these tropical beauties can bounce back from near-death experiences. In this guide, I’ll share my tried-and-true methods for reviving a dying hibiscus plant. From identifying the root cause to implementing effective solutions, we’ll cover everything you need to know to nurse your hibiscus back to health.
Understanding the Signs of a Dying Hibiscus Plant
Recognizing the symptoms of a distressed hibiscus plant is crucial for timely intervention. I’ll guide you through the common signs of trouble and help you pinpoint the underlying causes.
Common Symptoms of Distress
Hibiscus plants exhibit several telltale signs when they’re struggling:
- Yellowing leaves: Chlorosis often indicates nutrient deficiencies or overwatering
- Drooping foliage: Wilting leaves signal water stress or root problems
- Leaf drop: Excessive shedding of leaves suggests environmental stress or pest infestation
- Stunted growth: Slow or halted growth points to nutrient issues or inadequate light
- Brown leaf edges: Crispy, brown margins indicate sunburn or underwatering
- Bud drop: Premature falling of flower buds reveals environmental stress or pest damage
Identifying the Root Cause
To effectively revive your hibiscus, it’s essential to determine the underlying issue:
- Soil moisture: Check for overwatering or underwatering by examining soil dampness
- Light exposure: Assess if the plant receives too much or too little sunlight
- Nutrient levels: Look for signs of deficiencies in nitrogen, iron, or other essential elements
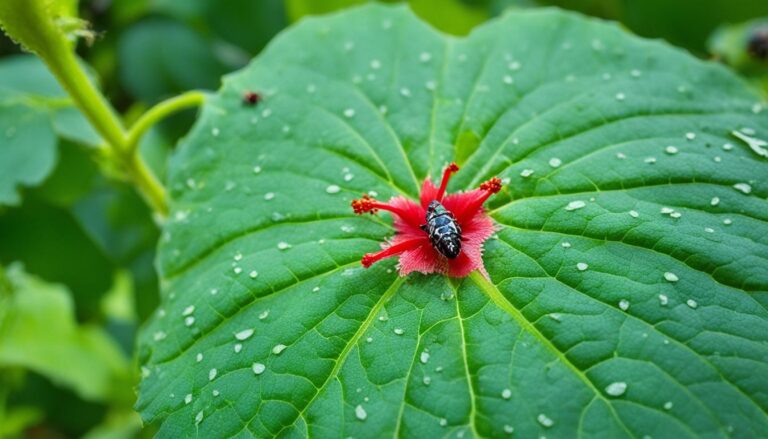
- Pest infestation: Inspect leaves and stems for aphids, spider mites, or whiteflies
- Disease: Check for fungal or bacterial infections, such as root rot or leaf spot
- Temperature stress: Consider exposure to extreme heat or cold
- Transplant shock: Evaluate recent changes in the plant’s environment or repotting
By carefully observing these symptoms and potential causes, you’ll be better equipped to diagnose and treat your ailing hibiscus plant.
Creating the Optimal Environment for Recovery
To revive a dying hibiscus plant, it’s crucial to create an environment that promotes recovery. I’ll focus on two key aspects: adjusting light exposure and maintaining proper temperature and humidity.
Adjusting Light Exposure
Hibiscus plants thrive in bright, indirect sunlight. I recommend placing the plant near a south-facing window with filtered light. If the plant’s been in direct sunlight, gradually move it to a shadier spot to prevent shock. For outdoor hibiscus, use shade cloth to protect from harsh midday sun. Monitor leaf color and growth; yellow leaves often indicate too much light, while sparse foliage suggests insufficient light.
Maintaining Proper Temperature and Humidity
Hibiscus plants prefer temperatures between 60-90°F (15-32°C). I ensure indoor plants are away from drafty windows and air conditioning vents. For outdoor plants, I use mulch to insulate roots and protect from temperature fluctuations. Humidity is equally important; aim for 50-70% relative humidity. Use a pebble tray filled with water or a humidifier to increase moisture levels. Mist the leaves regularly, but avoid wetting the flowers to prevent fungal growth.
Reviving Your Hibiscus Through Proper Watering
Proper watering is crucial for reviving a dying hibiscus plant. I’ll guide you through correcting overwatering issues and addressing underwatering problems to help your hibiscus thrive.
Correcting Overwatering Issues
Overwatering is a common cause of hibiscus decline. I’ll show you how to identify and fix this problem:
- Check for soggy soil: Insert your finger 1-2 inches into the soil; if it’s consistently wet, it’s overwatered.
- Improve drainage: Repot the plant in a container with drainage holes using well-draining soil mix.
- Reduce watering frequency: Allow the top inch of soil to dry between waterings.
- Treat root rot: Trim affected roots, apply fungicide, and repot in fresh, sterile soil.
- Adjust watering schedule: Water deeply but less frequently, especially during cooler months.
- Recognize signs: Look for wilting leaves, dry soil, and slow growth.
- Establish a consistent watering routine: Water thoroughly when the top inch of soil feels dry.
- Use mulch: Apply a 2-3 inch layer of organic mulch to retain moisture.
- Consider self-watering systems: Implement drip irrigation or self-watering pots for consistent moisture.
- Monitor humidity: Use a pebble tray or humidifier to increase air moisture for indoor plants.
- Water quality matters: Use room temperature, chlorine-free water for best results.
Nutrient Management for Hibiscus Revival
Proper nutrient management is crucial for reviving a dying hibiscus plant. I’ll guide you through selecting the right fertilizer and implementing an effective feeding schedule to ensure your hibiscus thrives.
Choosing the Right Fertilizer
Hibiscus plants require a balanced fertilizer with a higher ratio of potassium. I recommend using a 10-4-12 or 9-3-13 NPK (Nitrogen-Phosphorus-Potassium) ratio fertilizer. These formulations promote vibrant blooms and sturdy growth. Opt for slow-release granular fertilizers or water-soluble options for easy application. Avoid high-nitrogen fertilizers, as they encourage foliage growth at the expense of flowers.
Implementing a Feeding Schedule
For optimal hibiscus revival, follow a consistent feeding schedule:
- Spring and summer: Feed every 2-3 weeks
- Fall: Reduce feeding to once a month
- Winter: Suspend fertilization unless in warm climates
Apply fertilizer after watering to prevent root burn. For granular fertilizers, sprinkle around the base of the plant and lightly work into the soil. With water-soluble fertilizers, mix according to package instructions and apply directly to the soil. During active growth periods, supplement with a foliar spray containing micronutrients like iron and magnesium every 4-6 weeks to address potential deficiencies and promote overall plant health.
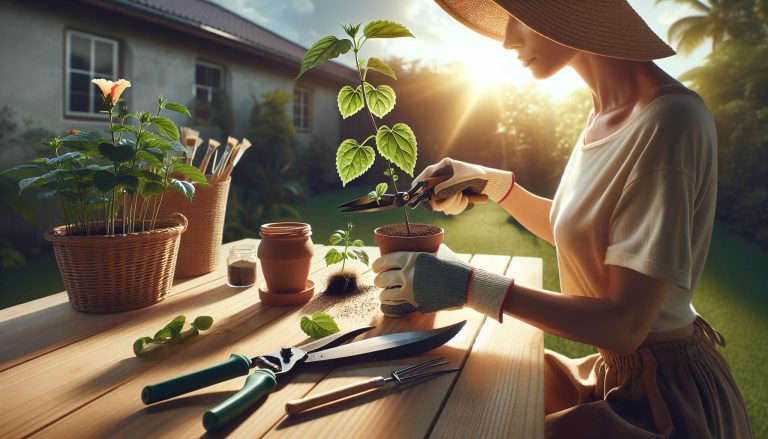
Pruning and Pest Control Techniques
Proper pruning and effective pest control are crucial for reviving a dying hibiscus plant. These techniques help eliminate damaged parts and protect the plant from harmful pests, promoting healthy growth and recovery.
Removing Damaged or Diseased Parts
I remove damaged or diseased parts of a hibiscus plant to prevent further decline and encourage new growth. Here’s how:
- Sterilize pruning tools with rubbing alcohol before use
- Cut off brown, yellow, or wilted leaves at the base of the stem
- Trim back dead or diseased branches to healthy wood, making clean 45-degree angle cuts
- Remove any crossing or rubbing branches to improve air circulation
- Prune away up to one-third of the plant’s foliage to stimulate new growth
- Dispose of pruned material away from the garden to prevent disease spread
Treating Common Hibiscus Pests
I address common hibiscus pests promptly to prevent further damage and support plant recovery:
- Aphids: Spray plants with a strong stream of water or apply insecticidal soap
- Spider mites: Increase humidity and use neem oil or miticides for severe infestations
- Whiteflies: Place yellow sticky traps nearby and use insecticidal soap for control
- Mealybugs: Remove with cotton swabs dipped in rubbing alcohol or apply neem oil
- Thrips: Use blue sticky traps and spray plants with insecticidal soap or neem oil
- Japanese beetles: Handpick beetles and use neem oil or pyrethrin-based insecticides
For organic pest control, I introduce beneficial insects like ladybugs or lacewings to combat pest populations naturally. Regular inspection and early intervention are key to successful pest management in hibiscus plants.
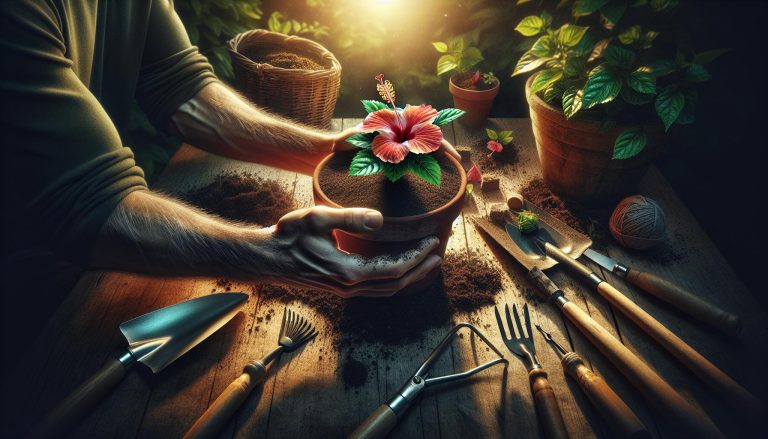
Repotting and Soil Considerations
Proper soil and repotting practices are crucial for reviving a dying hibiscus plant. The right potting mix and timely repotting can significantly improve your hibiscus’s health and vitality.
Selecting the Ideal Potting Mix
The ideal potting mix for hibiscus plants is well-draining, nutrient-rich, and slightly acidic. I recommend using a mix of:
- 2 parts high-quality potting soil
- 1 part perlite or coarse sand
- 1 part peat moss or coconut coir
This combination ensures adequate drainage while retaining essential moisture and nutrients. The pH level should be between 6.0 and 6.5 for optimal nutrient absorption. To achieve this, add a small amount of agricultural lime if the soil is too acidic, or sulfur if it’s too alkaline.
When and How to Repot Your Hibiscus
Repot your hibiscus every 2-3 years or when it outgrows its current container. Signs it’s time to repot include:
- Roots growing through drainage holes
- Water draining too quickly
- Stunted growth
- Yellowing leaves
To repot your hibiscus:
- Choose a pot 1-2 inches larger in diameter than the current one
- Gently remove the plant from its old container
- Prune any damaged or circling roots
- Place fresh potting mix in the new container
- Position the plant at the same depth as before
- Fill with potting mix, leaving 1 inch of space at the top
- Water thoroughly and place in a shaded area for a few days
Repotting in spring or early summer gives your hibiscus the best chance to recover and thrive in its new environment.
Ongoing Care for a Revived Hibiscus
After successfully reviving a dying hibiscus plant, it’s crucial to establish a proper maintenance routine to ensure its continued health and vitality. I’ll outline key aspects of ongoing care and how to monitor your hibiscus for signs of improvement.
Establishing a Maintenance Routine
To maintain a revived hibiscus, I follow a consistent care routine:
- Water regularly, keeping soil moist but not waterlogged
- Fertilize monthly during growing season with a balanced, hibiscus-specific fertilizer
- Prune annually to promote bushier growth and more blooms
- Inspect weekly for pests or disease symptoms
- Adjust light exposure seasonally, providing partial shade in hot summers
- Maintain optimal humidity levels with regular misting or a pebble tray
- Repot every 2-3 years to refresh soil and prevent root binding
By adhering to this routine, I ensure my hibiscus continues to thrive long after its revival.
Monitoring for Signs of Improvement
I closely observe my revived hibiscus for these positive indicators:
- New leaf growth, with vibrant green coloration
- Increased bud formation and flower production
- Stronger, more upright stems
- Improved overall plant structure and fullness
- Reduced leaf drop or yellowing
- Faster recovery from environmental stresses
- Increased resistance to pests and diseases
These signs confirm the effectiveness of my revival efforts and ongoing care. If improvements stall, I reassess my maintenance routine and make necessary adjustments to support continued hibiscus health.
Conclusion
Reviving a dying hibiscus plant is a rewarding journey that requires patience and dedication. By following the steps outlined in this guide you’ll be well-equipped to nurse your hibiscus back to health. Remember that each plant is unique and may respond differently to various treatments. Stay vigilant and adjust your care routine as needed. With proper attention to watering pruning fertilizing and pest control you’ll soon see your hibiscus thriving once again. Don’t give up on your plant – with the right care it can bounce back and continue to grace your garden with its stunning blooms for years to come.