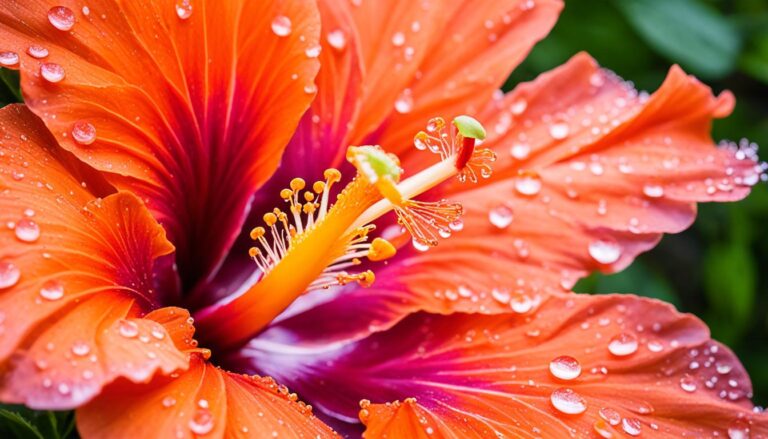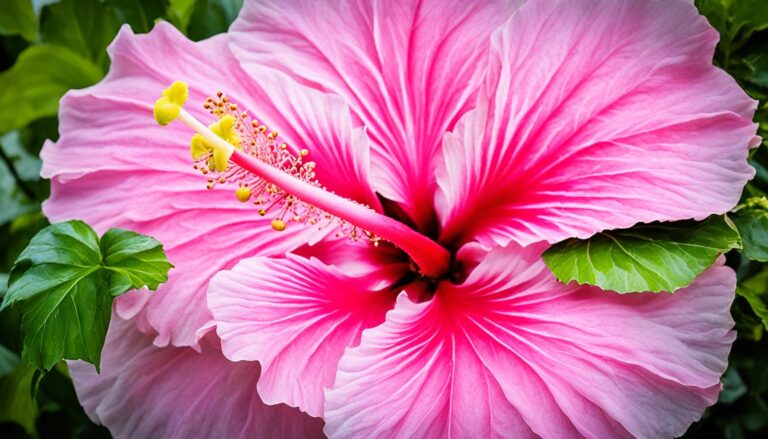
Easy Guide: How to Propagate Hibiscus in Water for Stunning New Plants
As an avid gardener, I’ve always been fascinated by the vibrant beauty of hibiscus flowers. Did you know that you can easily propagate these stunning plants using just water? It’s a simple and cost-effective way to expand your garden or share your favorite varieties with friends.
Propagating hibiscus in water is a rewarding process that allows you to witness the miracle of new life taking root before your eyes. Whether you’re a seasoned green thumb or a beginner looking to try something new, this method offers a fun and accessible way to multiply your hibiscus collection. In this article, I’ll guide you through the step-by-step process of water propagation, sharing tips and tricks I’ve learned along the way.
Understanding Hibiscus Propagation in Water
Water propagation is a simple yet effective method to multiply your hibiscus plants. This technique involves rooting hibiscus cuttings in water before transferring them to soil. I’ve found it to be a reliable way to create new plants from existing ones.
Key benefits of water propagation for hibiscus include:
- Easy monitoring of root development
- Reduced risk of soil-borne diseases
- Higher success rate compared to direct soil propagation
- Minimal equipment required
The process taps into the hibiscus plant’s natural ability to regenerate. When a stem cutting is placed in water, it develops adventitious roots from the submerged nodes. These roots grow and strengthen, preparing the cutting for eventual transplantation into soil.
Factors influencing successful water propagation:
- Cutting selection
- Water quality
- Light exposure
- Temperature
- Hormone use
Here’s a quick breakdown of the ideal conditions for hibiscus water propagation:
| Factor | Optimal Condition |
|---|---|
| Water temperature | 70-75°F (21-24°C) |
| Light exposure | Bright, indirect light |
| Cutting length | 4-6 inches (10-15 cm) |
| Leaf removal | Lower 1/3 of stem |
| Water changes | Every 3-5 days |
I’ve learned that patience is key in this process. While some cuttings may root quickly, others can take several weeks. Consistently maintaining the right conditions gives your hibiscus cuttings the best chance of successful propagation.
Selecting the Right Hibiscus Cuttings

Choosing the right cuttings is crucial for successful hibiscus propagation in water. I’ve learned that proper selection significantly impacts the rooting process and overall plant health.
Identifying Healthy Stems
To identify healthy stems for propagation:
- Look for vibrant, green stems without discoloration
- Choose stems that are neither too woody nor too soft
- Avoid stems with signs of disease or pest damage
- Select stems with multiple leaf nodes for better rooting potential
- Opt for stems from the current growing season
Healthy stems have a higher chance of developing strong roots. I’ve found that stems with a slight flexibility but not overly bendable tend to root best.
Optimal Cutting Length
The ideal cutting length for hibiscus propagation in water is:
| Cutting Length | Reason |
|---|---|
| 4-6 inches | Balances energy requirements and rooting potential |
| 2-3 leaf nodes | Provides sufficient anchoring points for root development |
To prepare the cutting:
- Use clean, sharp pruning shears to make a 45-degree angle cut
- Remove lower leaves, keeping 2-3 sets of leaves at the top
- Trim any flower buds to redirect energy to root formation
I’ve noticed that cuttings with at least two leaf nodes submerged in water root more consistently. Longer cuttings may struggle to support themselves and develop weaker root systems.
Preparing Your Cuttings for Water Propagation
Proper preparation of hibiscus cuttings is crucial for successful water propagation. I’ll guide you through the essential steps to ensure your cuttings are primed for rooting.
Removing Lower Leaves
To prepare hibiscus cuttings for water propagation:
- Identify the lower leaves: Locate the bottom 2-3 sets of leaves on your cutting.
- Remove leaves carefully: Gently pinch off these lower leaves using your fingers or clean pruning shears.
- Leave upper leaves intact: Keep the top 2-3 sets of leaves to support photosynthesis.
- Clean the stem: Wipe the exposed stem with a damp cloth to remove any debris.
- Allow to dry: Let the cut areas air dry for 15-20 minutes before placing in water.
Removing lower leaves prevents rotting when submerged and encourages root growth from the exposed leaf nodes.
Making Clean Cuts
Clean, precise cuts are vital for successful hibiscus propagation:
- Use sharp tools: Employ clean, sharp pruning shears or a sterilized razor blade.
- Cut at a 45-degree angle: This increases the surface area for water absorption and root development.
- Cut just below a leaf node: Make the cut 1/4 inch below a node where roots are likely to form.
- Avoid crushing: Don’t squeeze or damage the stem while cutting.
- Trim any ragged edges: Smooth out any uneven cuts to prevent rot.
After making cuts, dip the stem ends in rooting hormone powder to boost root development. Remember, clean cuts minimize the risk of infection and promote healthier root growth in your hibiscus cuttings.
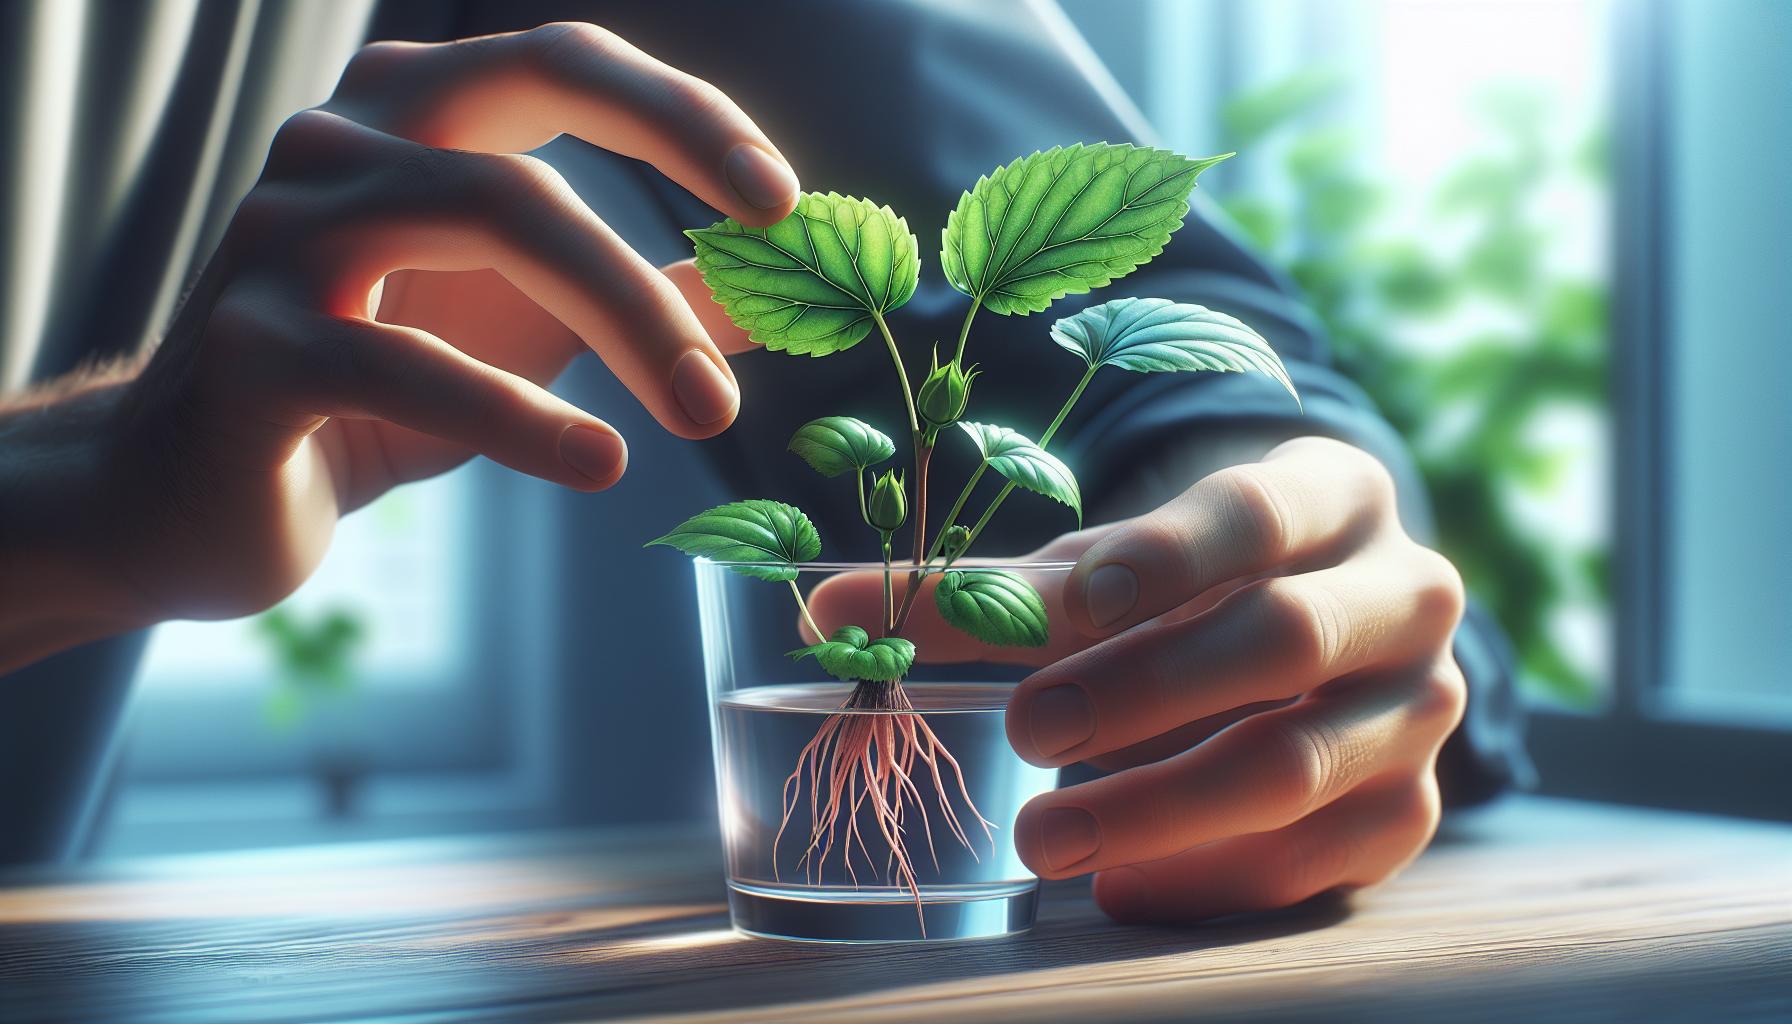
Setting Up the Water Propagation Environment
Creating the ideal environment for water propagation is crucial for successful hibiscus rooting. Here’s how to set up the perfect conditions for your cuttings.
Choosing the Right Container
For hibiscus water propagation, I prefer clear glass containers. They allow easy monitoring of root development and water levels. A container with a narrow neck helps support the cutting and keeps it upright. Ensure the container is clean and sterilized to prevent bacterial growth.
A few container options that work well:
- Mason jars
- Narrow vases
- Test tubes
- Clear plastic water bottles (cut in half)
Choose a size that comfortably holds your cutting while allowing room for root growth. The container should be tall enough to support at least 3-4 inches of the cutting’s stem.
Water Quality and Temperature
Water quality plays a significant role in successful hibiscus propagation. Here’s what you need to know:
- Water type: Use room temperature, chlorine-free water. If using tap water, let it sit out for 24 hours to allow chlorine to evaporate.
- pH level: Aim for slightly acidic to neutral water (pH 6.0-7.0). Most tap water falls within this range.
- Temperature: Keep water between 68-75°F (20-24°C). This range promotes root growth without stressing the cutting.
- Oxygen content: Change the water every 3-5 days to maintain adequate oxygen levels and prevent stagnation.
- Additives: Some gardeners add a drop of liquid fertilizer or a pinch of rooting hormone to the water. While not necessary, it can boost root development.
| Factor | Ideal Range |
|---|---|
| pH | 6.0-7.0 |
| Temperature | 68-75°F (20-24°C) |
| Water change | Every 3-5 days |
Remember, consistency is key. Maintain stable conditions throughout the propagation process to give your hibiscus cuttings the best chance of success.
Caring for Your Hibiscus Cuttings in Water
Caring for hibiscus cuttings in water requires attention to detail and consistent monitoring. I’ll guide you through the essential steps to ensure your cuttings thrive and develop strong roots.
Monitoring Water Levels
Maintaining proper water levels is crucial for successful hibiscus propagation. Check the water level daily and top it off as needed. The cut ends of the stems should always be submerged, but avoid covering any leaves with water. Replace the water entirely every 3-4 days to prevent bacteria growth and keep the cuttings healthy. If you notice the water becoming cloudy before the scheduled change, replace it immediately.
Use room temperature water when refilling or replacing to avoid shocking the cuttings. A small trick I’ve learned is to let tap water sit out for 24 hours before using it, allowing chlorine to dissipate.
Providing Adequate Light
Hibiscus cuttings thrive in bright, indirect light. Place them near a window that receives plenty of sunlight, but avoid direct exposure, which can scorch the leaves. East-facing windows often provide ideal light conditions.
If natural light is limited, supplement with grow lights. Position the lights about 6-12 inches above the cuttings and keep them on for 12-14 hours daily. Rotate the container every few days to ensure even light distribution and prevent the cuttings from leaning towards the light source.
During winter months, when daylight hours are shorter, you might need to increase artificial light exposure to compensate. Keep an eye on the cuttings’ color – vibrant green leaves indicate they’re receiving enough light, while pale or yellowing leaves suggest they need more.
Transplanting Rooted Hibiscus Cuttings
Once your hibiscus cuttings have developed roots in water, it’s time to transition them to soil. This process requires careful attention to ensure the newly rooted cuttings thrive in their new environment.
Signs of Root Development
Look for these indicators that your hibiscus cuttings are ready for transplanting:
- Root length: Roots should be 1-2 inches long
- Root color: Healthy roots are white or light-colored
- Root quantity: Multiple roots emerging from the stem
- Leaf growth: New leaves or buds forming on the cutting
Monitor your cuttings daily. When you see these signs, it’s time to prepare for transplanting.
Transitioning to Soil
Follow these steps to transplant your rooted hibiscus cuttings:
- Choose the right pot: Select a container with drainage holes, 4-6 inches in diameter.
- Prepare the soil mix:
- 2 parts potting soil
- 1 part perlite or coarse sand
- 1 part peat moss or coconut coir
- Fill the pot: Leave 1 inch of space at the top for watering.
- Create a planting hole: Make it deep enough to cover the roots.
- Remove the cutting from water: Gently lift it out to avoid damaging the roots.
- Plant the cutting: Place it in the hole and fill with soil, firming gently.
- Water thoroughly: Moisten the soil without saturating it.
- Provide humidity: Cover with a clear plastic bag, leaving space for air circulation.
- Place in indirect light: Avoid direct sunlight for the first week.
- Gradually acclimate: Remove the plastic cover for increasing periods over 7-10 days.
Remember, hibiscus cuttings are delicate at this stage. Handle them with care and maintain consistent moisture levels as they adjust to their new growing medium.
Common Issues and Troubleshooting
Root Rot
Root rot is a frequent problem when propagating hibiscus in water. It’s caused by overexposure to moisture and poor oxygen circulation. To prevent this:
- Change the water every 3-4 days
- Use clean, room temperature water
- Ensure the container has proper drainage
- Remove any discolored or mushy parts of the stem
If root rot occurs, trim away affected areas and start fresh with a new cutting.
Slow Root Development
Hibiscus cuttings typically root within 2-3 weeks. If you’re not seeing progress:
- Check water temperature (65-75°F is ideal)
- Ensure adequate light exposure
- Add a rooting hormone to stimulate growth
- Maintain consistent humidity levels
Remember, patience is key. Some cuttings may take up to 6 weeks to root.
Leaf Yellowing or Dropping
Yellowing or dropping leaves often indicate stress. Common causes include:
- Insufficient light
- Nutrient deficiency
- Temperature fluctuations
- Shock from transition
To address this:
- Gradually increase light exposure
- Add a weak, water-soluble fertilizer
- Maintain stable temperatures (65-80°F)
- Mist leaves to increase humidity
Fungal Growth
Fungal issues can arise in damp environments. To prevent and treat:
- Use clean tools and containers
- Improve air circulation around cuttings
- Apply a fungicide if necessary
- Remove affected parts immediately
Pest Infestations
While less common in water propagation, pests can still be an issue. Watch for:
- Aphids
- Spider mites
- Whiteflies
If you spot pests:
- Isolate affected cuttings
- Rinse thoroughly with water
- Apply neem oil or insecticidal soap
- Monitor closely for recurrence
By addressing these common issues promptly, you’ll increase your chances of successful hibiscus propagation. Remember, each plant is unique, so don’t be discouraged if you face setbacks. With patience and care, you’ll soon have thriving hibiscus cuttings ready for transplanting.
Conclusion
Propagating hibiscus in water is a rewarding and cost-effective way to expand your garden. With the right techniques and care, you can successfully grow new plants from cuttings. Remember to select healthy stems, maintain proper water conditions, and provide adequate light. Be patient and attentive during the rooting process, and address any issues promptly. Once your cuttings develop strong roots, transplant them carefully into soil. By following these guidelines, you’ll be well on your way to growing beautiful new hibiscus plants from water propagation.