10 Expert Tips for Hibiscus Care: Grow Stunning Blooms in Your Garden
As a passionate gardener, I’ve always been captivated by the vibrant beauty of hibiscus flowers. These tropical beauties can transform any garden into a colorful paradise, but they do require some special care to thrive.
Over the years, I’ve learned the secrets to keeping hibiscus plants healthy and blooming. From proper watering techniques to ideal soil conditions, there’s a lot to consider when caring for these stunning plants. In this article, I’ll share my top tips for nurturing hibiscus, whether you’re growing them indoors or out. With the right approach, you’ll be rewarded with a spectacular display of flowers that’ll be the envy of your neighborhood.
Understanding Hibiscus Plants
Hibiscus plants are diverse and captivating, with unique characteristics that make them a favorite among gardeners. I’ll explore the different types of hibiscus and their growth habits to help you better understand these beautiful plants.
Types of Hibiscus
Hibiscus plants come in three main categories:
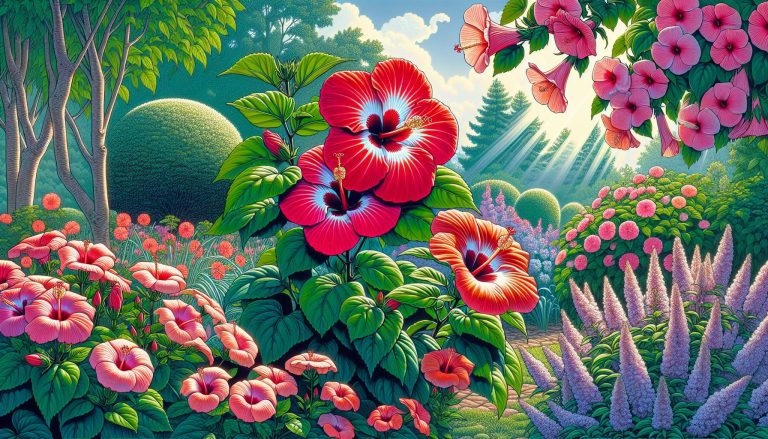
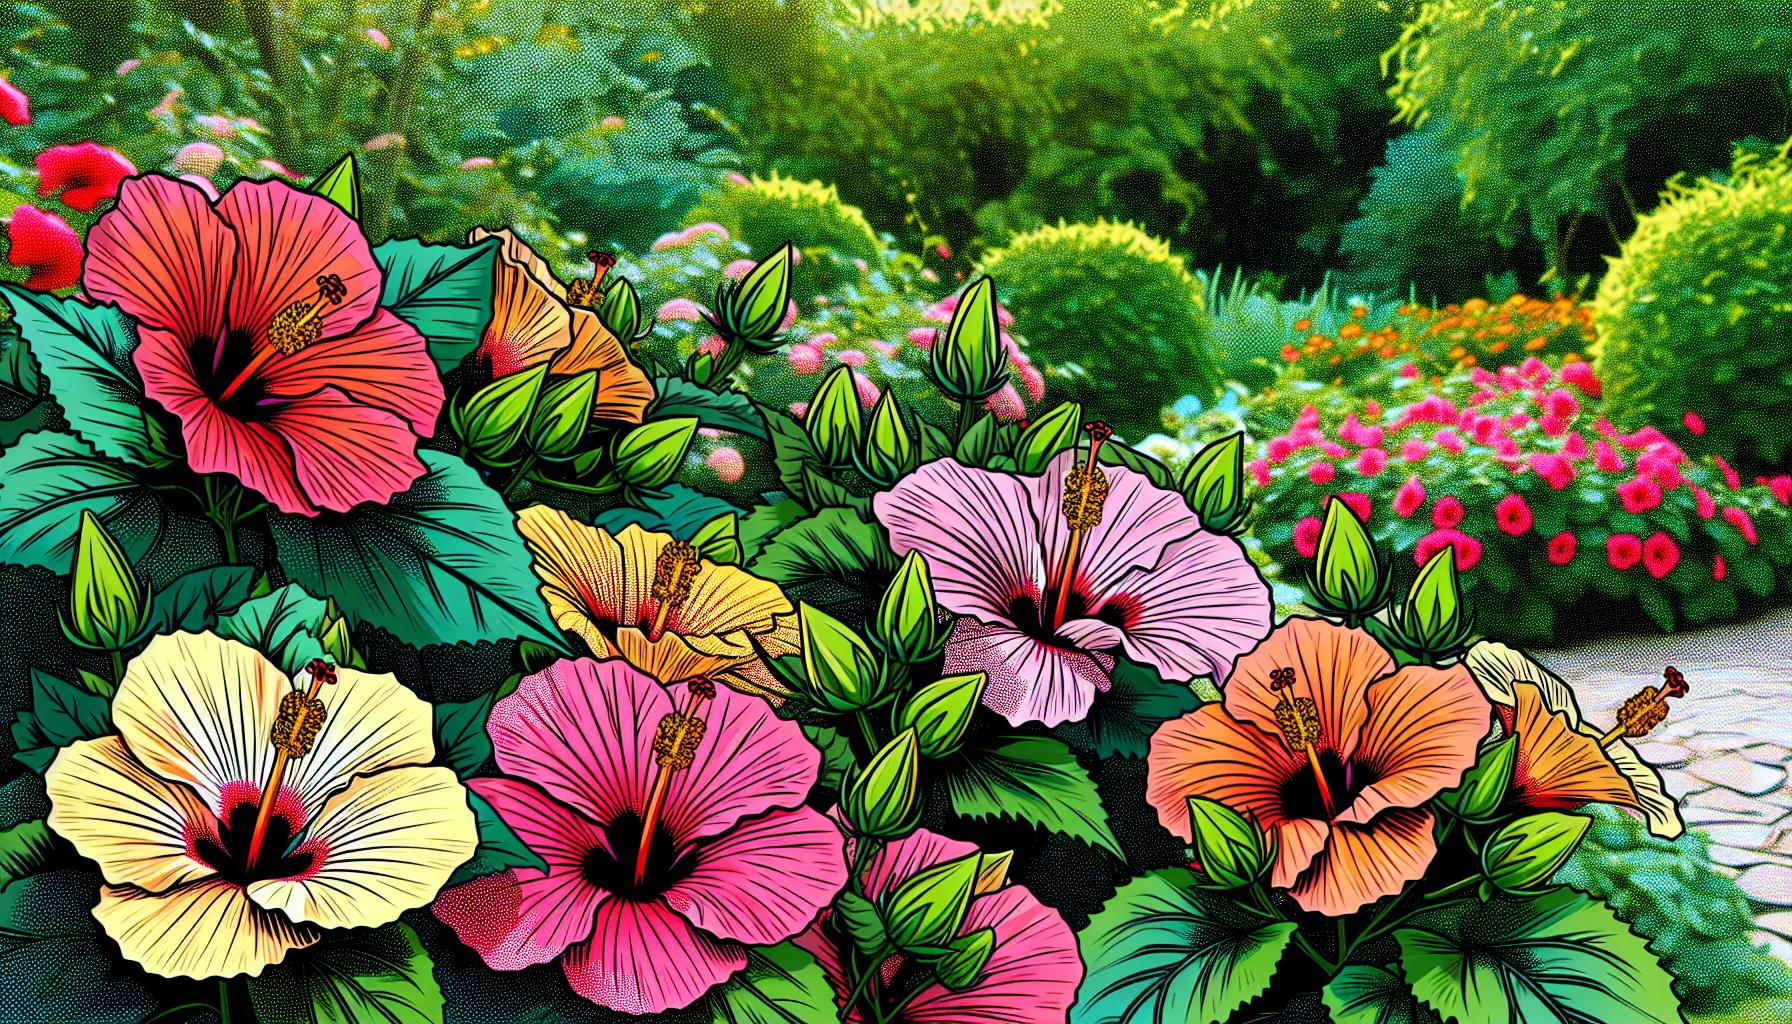
- Tropical hibiscus: Vibrant flowers in red, pink, orange, yellow, and multi-colored varieties
- Hardy hibiscus: Large, dinner-plate-sized blooms in white, pink, and red shades
- Rose of Sharon: Smaller flowers with a wider range of colors, including purple and blue
Each type has specific care requirements and thrives in different climates. Tropical hibiscus is best suited for warm regions or as indoor plants, while hardy hibiscus and Rose of Sharon can withstand colder temperatures.
Growth Habits and Characteristics
Hibiscus plants exhibit diverse growth patterns and features:
- Size: Range from compact 3-foot shrubs to 15-foot trees
- Leaf shape: Varies from oval to lobed, with serrated or smooth edges
- Flowering period: Typically bloom from late spring to early fall
- Lifespan: Individual flowers last 1-3 days, but plants produce new blooms continuously
- Root system: Shallow and fibrous, requiring careful watering and soil management
Understanding these growth habits helps in providing optimal care for hibiscus plants. Proper pruning, fertilization, and placement based on their specific characteristics ensure healthy growth and abundant blooms.
Choosing the Right Location for Your Hibiscus
Selecting the perfect spot for your hibiscus is crucial for its health and blooming potential. I’ll guide you through the key factors to consider when positioning your hibiscus plant.
Sunlight Requirements
Hibiscus thrives in full sun, requiring 6-8 hours of direct sunlight daily. I place my tropical hibiscus in south-facing areas to maximize sun exposure. For hardy hibiscus varieties, I’ve found that morning sun with afternoon shade works well, protecting them from intense midday heat. In regions with scorching summers, I provide light shade during peak hours to prevent leaf scorch.
Temperature and Climate Considerations
Hibiscus plants prefer warm temperatures between 60-90°F (15-32°C). I keep my tropical hibiscus in areas sheltered from cold winds and frost. For outdoor hibiscus in cooler climates, I plant them near walls or fences for added warmth and protection. In zones 5-9, hardy hibiscus varieties tolerate winter temperatures, but I still mulch them heavily for extra insulation. During extreme heat waves, I move my potted hibiscus to cooler spots to prevent stress and maintain optimal growth conditions.
Soil and Planting Techniques
Proper soil composition and planting techniques are crucial for hibiscus health and growth. I’ll share my expertise on creating the ideal soil mix and planting process to ensure your hibiscus thrives.
Ideal Soil Composition
Hibiscus plants thrive in well-draining, nutrient-rich soil with a pH between 6.0 and 6.5. I create a perfect soil mix using:
- 2 parts high-quality potting soil
- 1 part perlite or coarse sand
- 1 part peat moss or coconut coir
This combination ensures excellent drainage while retaining moisture and nutrients. For container-grown hibiscus, I add a slow-release fertilizer to the mix for sustained nutrition.
Planting Process for Hibiscus
When planting hibiscus, I follow these steps:
- Choose a location with adequate sunlight and protection from strong winds
- Dig a hole twice the width and depth of the root ball
- Amend the soil with organic matter and my custom soil mix
- Place the plant in the hole, ensuring the top of the root ball is level with the soil surface
- Backfill with soil, gently tamping to remove air pockets
- Water thoroughly to settle the soil
- Apply a 2-3 inch layer of organic mulch around the base, keeping it away from the stem
For container planting, I select a pot 1-2 sizes larger than the current one, with drainage holes. I use the same planting process, leaving 1-2 inches of space at the top for watering.
Watering Your Hibiscus
Proper watering is crucial for hibiscus health and bloom production. I’ll share my expert tips on watering frequency, amount, and how to recognize signs of improper watering.
Watering Frequency and Amount
Hibiscus plants thrive with consistent moisture. I water my hibiscus deeply 2-3 times a week during the growing season, adjusting based on weather conditions. In hot, dry periods, I increase watering to daily. For container-grown hibiscus, I check the soil moisture daily, watering when the top inch feels dry. I use about 1 gallon of water per plant, ensuring thorough soil saturation. During winter, I reduce watering to once a week for outdoor plants and every 10-14 days for indoor hibiscus.
Signs of Over and Under-Watering
Recognizing watering issues early prevents plant stress. Overwatered hibiscus show yellowing leaves, leaf drop, and soggy soil. Root rot may occur, causing wilting despite moist soil. Underwatered plants display drooping leaves, dry soil, and crisp, brown leaf edges. Flower buds may fall off prematurely. I check my plants regularly, adjusting my watering schedule at the first sign of these symptoms to maintain optimal hibiscus health.
Fertilizing for Optimal Growth
Proper fertilization is crucial for healthy hibiscus growth and abundant blooming. I’ll guide you through the best fertilizers and schedules to keep your hibiscus thriving.
Types of Fertilizers for Hibiscus
For hibiscus, I recommend using a balanced, water-soluble fertilizer with an NPK ratio of 10-10-10 or 20-20-20. These ratios provide equal parts nitrogen, phosphorus, and potassium, essential for overall plant health. Alternatively, a slightly higher potassium content (e.g., 5-10-15) can promote better flowering.
Organic options include:
- Compost tea
- Fish emulsion
- Seaweed extract
These natural fertilizers offer a rich blend of micronutrients beneficial for hibiscus growth.
For container-grown hibiscus, slow-release granular fertilizers work well, providing a steady nutrient supply over time.
Fertilizing Schedule
I follow this fertilizing schedule for optimal hibiscus growth:
- Spring: Start fertilizing when new growth appears, typically in early spring.
- Growing season: Apply fertilizer every 2-3 weeks during active growth (spring through fall).
- Winter: Reduce or stop fertilizing during dormancy in colder months.
For potted hibiscus:
- Feed weekly with a diluted liquid fertilizer
- Apply slow-release granules every 3-4 months
Always water thoroughly before fertilizing to prevent root burn. Adjust the schedule based on your plant’s growth rate and overall health, reducing frequency if leaves turn yellow or growth becomes excessive.
Pruning and Maintenance
Proper pruning and maintenance are crucial for keeping hibiscus plants healthy and promoting abundant blooms. I’ll share expert techniques for pruning, deadheading, and shaping your hibiscus to ensure optimal growth and a stunning display of flowers.
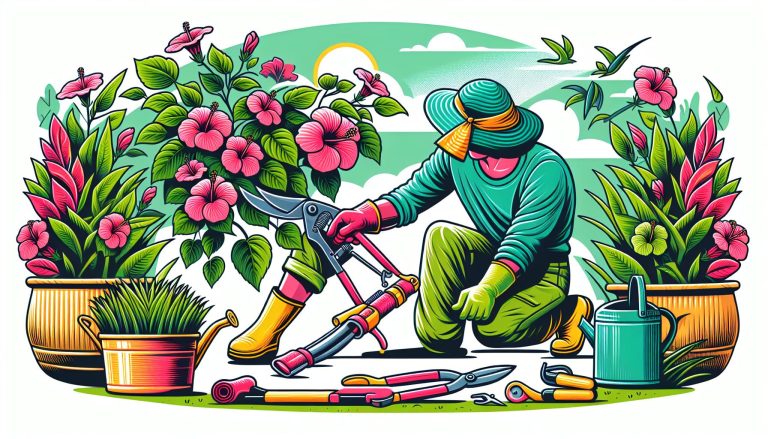
When and How to Prune
Pruning hibiscus plants is best done in late winter or early spring, just before new growth begins. For tropical hibiscus, I prune in early spring when temperatures consistently stay above 50°F (10°C). Hardy hibiscus varieties are pruned in late winter or early spring before new growth emerges.
To prune effectively:
- Use clean, sharp pruning shears to prevent disease transmission
- Remove dead, damaged, or crossing branches first
- Cut back about 1/3 of the plant’s height to encourage bushier growth
- Make cuts at a 45-degree angle just above a leaf node
- Thin out dense areas to improve air circulation
For mature hibiscus plants, I perform a hard pruning every 2-3 years, cutting back up to 2/3 of the plant to rejuvenate growth.
Deadheading and Shaping
Deadheading, the process of removing spent flowers, is essential for maintaining a tidy appearance and encouraging continuous blooming. Here’s how I approach deadheading and shaping:
- Remove faded flowers regularly, cutting back to the first set of leaves
- Pinch off new growth tips to promote bushier plants
- Shape the plant by selectively pruning branches to maintain desired form
- Avoid deadheading hardy hibiscus varieties in fall to protect developing seed pods
For container-grown hibiscus, I shape the plant throughout the growing season by trimming long stems and pinching back new growth. This practice helps maintain a compact form and prevents the plant from becoming leggy.
By following these pruning and maintenance techniques, you’ll ensure your hibiscus plants remain healthy, vibrant, and full of beautiful blooms throughout the growing season.
Protecting Hibiscus from Pests and Diseases
I’ve learned that protecting hibiscus from pests and diseases is crucial for maintaining healthy, vibrant plants. By implementing preventive measures and addressing issues promptly, I ensure my hibiscus thrives year after year.
Common Hibiscus Pests
Hibiscus plants attract several pests that can damage their leaves, stems, and flowers. The most common pests I encounter include:
- Aphids: Tiny green or black insects that cluster on new growth and suck plant sap
- Spider mites: Microscopic arachnids that cause stippling on leaves and create fine webbing
- Whiteflies: Small, white, flying insects that feed on plant juices and excrete honeydew
- Mealybugs: Soft-bodied, white, cottony insects that congregate in leaf axils and stems
- Japanese beetles: Metallic green beetles that skeletonize leaves and damage flowers
To control these pests, I use a combination of methods:
- Regularly inspect plants for signs of infestation
- Remove pests by hand or with a strong stream of water
- Apply insecticidal soap or neem oil for persistent infestations
- Introduce beneficial insects like ladybugs or lacewings as natural predators
- Use sticky traps to capture flying insects
Disease Prevention and Treatment
Hibiscus plants are susceptible to various diseases, but proper prevention and early treatment can keep them healthy. Common diseases I watch for include:
- Root rot: Caused by overwatering or poor drainage
- Leaf spot: Fungal disease resulting in dark spots on leaves
- Botrytis blight: Gray mold affecting flowers and buds
- Hibiscus chlorotic ringspot virus: Causes yellowing and stunted growth
To prevent and treat these diseases, I follow these practices:
- Ensure proper drainage and avoid overwatering
- Maintain good air circulation by proper spacing and pruning
- Remove and dispose of infected plant parts immediately
- Apply fungicides when necessary, following label instructions
- Sterilize pruning tools between cuts to prevent disease spread
By implementing these pest control and disease prevention strategies, I maintain healthy, thriving hibiscus plants that produce stunning blooms throughout the growing season.
Winter Care for Hibiscus
Winter care is crucial for hibiscus plants to survive cold temperatures and thrive in the following growing season. I’ll share essential tips for protecting your hibiscus during the winter months, whether they’re planted outdoors or kept indoors.
Preparing Hibiscus for Cold Weather
To prepare hibiscus for cold weather, I start by gradually reducing watering and fertilization in late fall. This helps the plant enter dormancy naturally. For outdoor plants, I apply a 3-4 inch layer of mulch around the base to insulate the roots. If temperatures drop below 50°F (10°C), I cover the plant with a frost cloth or plastic sheet, ensuring it doesn’t touch the foliage. For potted hibiscus, I move them to a protected area like a garage or sunroom when nighttime temperatures consistently fall below 50°F (10°C).
Indoor Care for Potted Hibiscus
When bringing potted hibiscus indoors for winter, I place them in a bright location with at least 6 hours of indirect sunlight daily. I maintain temperatures between 55-70°F (13-21°C) and reduce watering to once every 1-2 weeks, allowing the top inch of soil to dry between waterings. To combat dry indoor air, I mist the leaves regularly or use a humidity tray. I also inspect the plant weekly for pests like spider mites and aphids, treating any infestations promptly with insecticidal soap.
Troubleshooting Common Hibiscus Problems
Even with proper care, hibiscus plants can face challenges. I’ll address common issues and provide effective solutions to keep your hibiscus healthy and thriving.
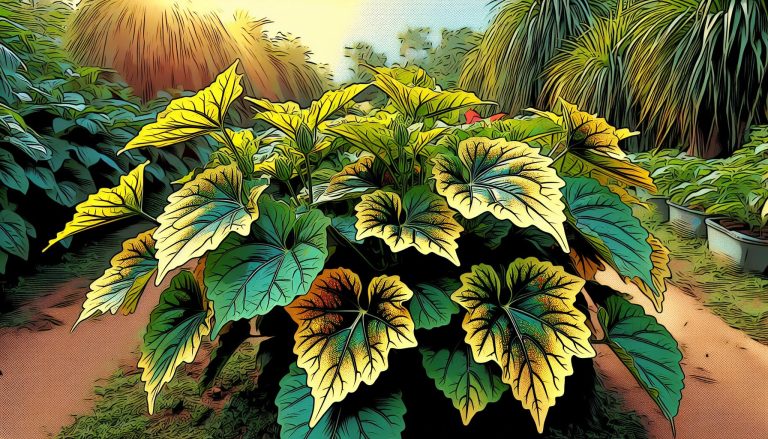
Leaf Issues and Solutions
Hibiscus leaf problems often indicate underlying health issues. Yellow leaves suggest overwatering or nutrient deficiencies. I recommend checking soil moisture and adjusting watering frequency. For nutrient deficiencies, apply a balanced fertilizer. Brown leaf edges point to underwatering or sunburn. Increase watering frequency and provide shade during peak sun hours. Curled or distorted leaves typically signal pest infestations. Inspect plants regularly and treat with insecticidal soap or neem oil as needed.
Flower Production Concerns
Lack of blooms frustrates many hibiscus growers. Insufficient sunlight is a common culprit. Ensure your hibiscus receives 6-8 hours of direct sunlight daily. Overfertilizing, particularly with high-nitrogen fertilizers, promotes foliage growth at the expense of flowers. Switch to a balanced or phosphorus-rich fertilizer to encourage blooming. Improper pruning can remove flower buds. Prune in late winter or early spring before new growth begins. Stress from temperature extremes or inconsistent watering also affects flowering. Maintain stable growing conditions and water consistently to promote healthy bloom production.
Conclusion
Caring for hibiscus can be a rewarding experience with the right knowledge and attention. By following these tips on location soil watering fertilization pruning and pest control you’ll be well-equipped to grow stunning hibiscus plants. Remember that each variety has unique needs so tailor your care approach accordingly. With patience and dedication you’ll enjoy a vibrant display of these tropical beauties in your garden or home. Happy gardening!