Hibiscus Propagation – Tips, Tricks, and Proven Methods
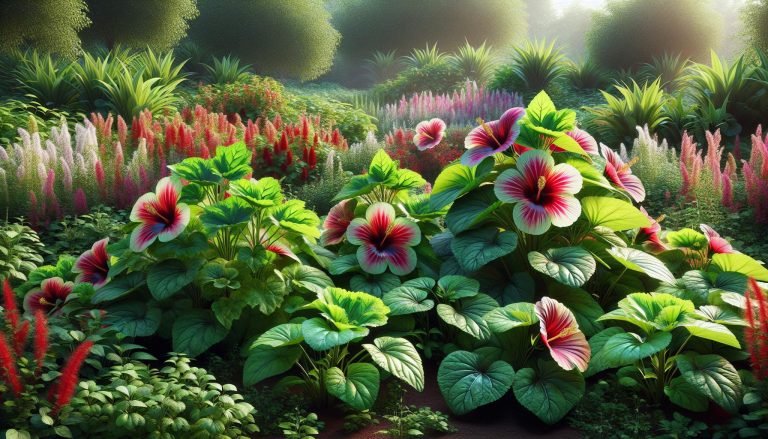
Hibiscus plants, with their stunning, vibrant blooms, have long been a favorite among gardeners and plant enthusiasts.
As a passionate hibiscus grower myself, I’ve spent the past 7 years nurturing and expanding my collection. One of the most rewarding aspects of growing hibiscus is the ability to propagate new plants, allowing you to share the beauty of these tropical wonders with friends and family or simply increase your own garden’s diversity.
In this comprehensive guide, we’ll explore the various methods of hibiscus propagation and provide you with the knowledge and tools needed to successfully grow new hibiscus plants.
Methods of Hibiscus Propagation
There are several ways to propagate hibiscus plants, each with its own advantages and challenges. Let’s take a closer look at the most common methods:
1. Stem Cuttings
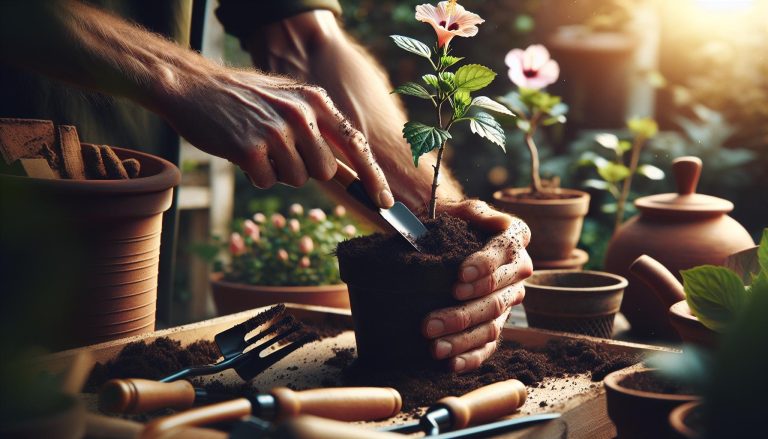
Stem cuttings are one of the most popular and straightforward methods of hibiscus propagation. To begin, select a healthy, non-flowering stem that is about 4-6 inches long.
Make sure to choose a stem with at least 2-3 leaf nodes, as this is where new roots will emerge. Remove the lower leaves, leaving only the top 2-3 leaves intact.
Next, apply a rooting hormone to the cut end of the stem. This will encourage faster and more robust root growth. I prefer using a gel-based rooting hormone, as it adheres well to the stem and provides excellent results.
Plant the cutting in a well-draining potting mix, and water it thoroughly. Place the pot in a warm, bright location but out of direct sunlight.
Keep the soil moist but not soggy, and within 4-6 weeks, you should see new growth emerging, indicating that the cutting has successfully rooted.
2. Grafting
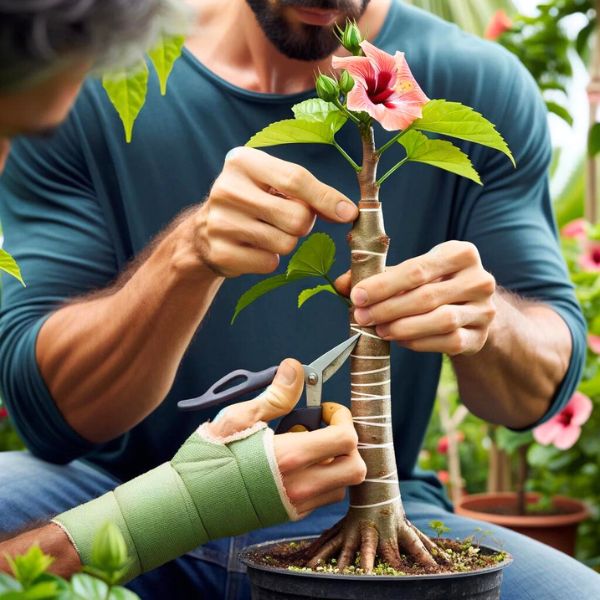
Grafting is a more advanced propagation method that involves joining a scion (a stem cutting from the desired hibiscus variety) onto a rootstock (a healthy, established hibiscus plant).
This method is particularly useful when you want to combine the best qualities of two different hibiscus varieties or when dealing with hard-to-root species.
There are two main types of grafting suitable for hibiscus:
- Cleft Grafting: This involves making a vertical cut in the center of the rootstock and inserting the scion into the opening.
- Wedge Grafting: This method requires cutting the scion into a wedge shape and inserting it into a corresponding cut in the rootstock.
Regardless of the grafting method you choose, it’s crucial to ensure that the cambium layers (the thin, green layer just beneath the bark) of both the scion and rootstock are aligned. This is where the two plants will fuse together.
After grafting, wrap the union point with grafting tape to secure the scion in place and prevent moisture loss. Over time, the scion and rootstock will grow together, and you’ll have a new hibiscus plant with the desired characteristics.
3. Air Layering
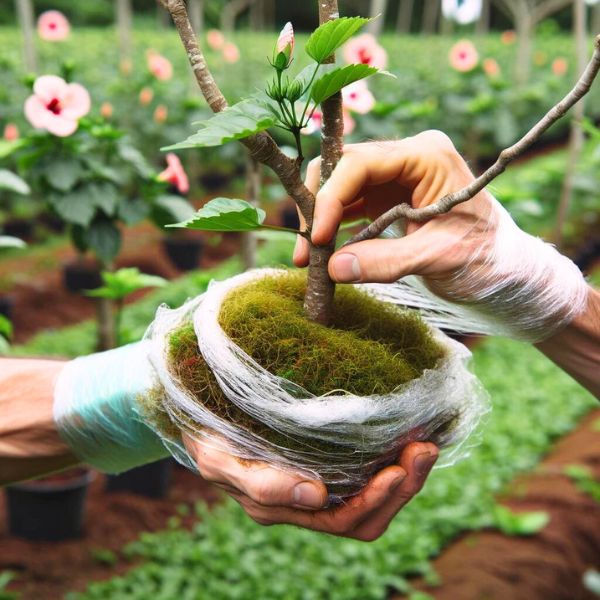
Air layering is a propagation method that allows you to create a new plant while it’s still attached to the parent plant.
This technique is particularly useful for large, mature hibiscus plants that may be difficult to propagate through other means.
To begin, choose a healthy, pencil-thick branch on your hibiscus plant. Remove the leaves from a 4-6 inch section of the branch, and make a shallow, upward-sloping cut around the circumference of the bark.
Apply rooting hormone to the exposed area, then wrap it with moistened sphagnum moss. Cover the moss with plastic wrap, securing both ends with twist ties to create a humid environment that promotes root growth.
Over the next several weeks, roots will begin to develop within the moss. Once the roots are well-established (usually after 2-3 months), carefully remove the plastic and moss, and cut the branch just below the rooted area. Plant your new hibiscus in a pot with well-draining soil, and care for it as you would any other hibiscus plant.
4. Seeds
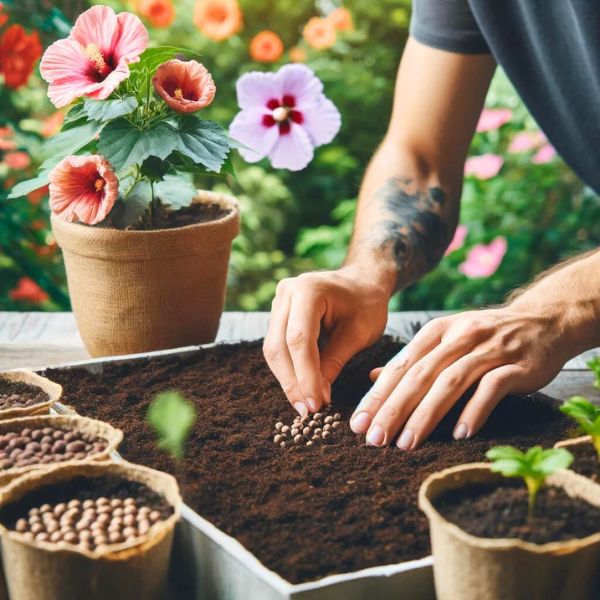
Growing hibiscus from seeds is an economical way to produce a large number of plants, albeit with some genetic variability.
To start, collect seeds from mature hibiscus pods that have turned brown and begun to split open. Store the seeds in a cool, dry place until you’re ready to plant them.
Before sowing, it’s essential to scarify the seeds, as they have a hard outer coat that can inhibit germination. You can do this by gently filing the seed coat with a nail file or soaking the seeds in warm water for 24 hours.
Sow the seeds in a well-draining seed-starting mix, about 1/4 inch deep. Keep the soil moist and warm (around 75°F/24°C), and seedlings should emerge within 2-3 weeks.
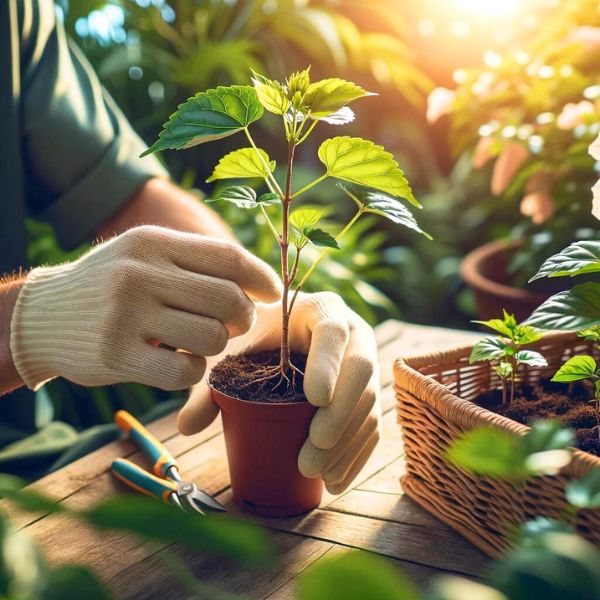
Once the seedlings have developed their first true leaves, transplant them into individual pots and care for them as you would any other hibiscus plant.
Factors Affecting Hibiscus Propagation Success
Several factors can influence the success of your hibiscus propagation efforts:
- Timing and Season: The best time to propagate hibiscus is during the active growing season, typically spring through summer. Avoid propagating during the plant’s dormant period, as this can lead to slower growth and reduced success rates.
- Temperature and Humidity: Hibiscus plants prefer warm temperatures and high humidity levels. Aim to maintain a temperature range of 65-75°F (18-24°C) and humidity levels above 50% for optimal growth and rooting.
- Light and Shade Requirements: Provide your hibiscus propagations with bright, indirect light. Too much direct sunlight can scorch the tender leaves, while too little light can lead to weak, spindly growth.
- Soil and Growing Medium: Use a well-draining potting mix that offers good aeration and moisture retention. A mix of equal parts peat moss, perlite, and vermiculite works well for most hibiscus propagations.
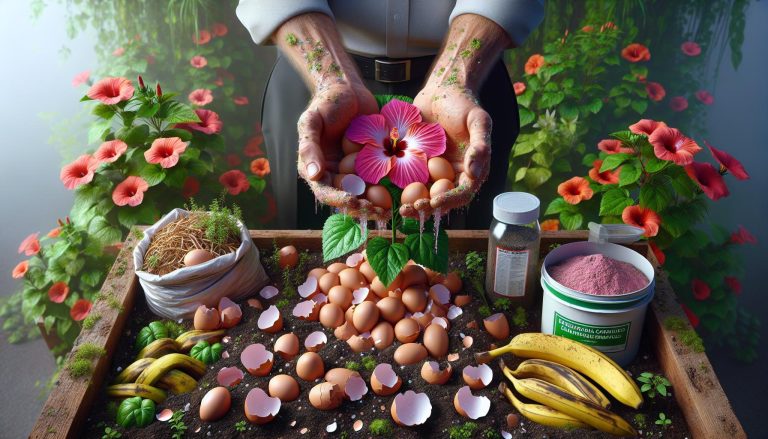
- Watering and Fertilization: Keep the soil consistently moist but not waterlogged, as this can lead to root rot. Once your propagations have established roots, you can begin fertilizing them with a balanced, water-soluble fertilizer every 2-3 weeks during the growing season.
Common Problems and Solutions
Despite your best efforts, you may encounter some challenges when propagating hibiscus plants. Here are a few common problems and their solutions:
- Fungal and Bacterial Infections: These infections can cause leaf spots, stem rot, and other issues. To prevent them, ensure proper air circulation, avoid overwatering, and use sterile tools and growing media. If infections do occur, remove affected parts of the plant and apply a suitable fungicide or bactericide.
- Pest Infestations: Hibiscus plants can be vulnerable to pests such as aphids, mealybugs, and spider mites. Regularly inspect your plants and treat any infestations promptly with insecticidal soaps, neem oil, or other appropriate treatments.
- Slow or Failed Rooting: If your hibiscus propagations are failing to root, it could be due to a variety of factors, including improper temperature, moisture levels, or hormone application. Double-check your propagation techniques and environmental conditions, and be patient – some hibiscus varieties may take longer to root than others.
- Transplant Shock: When moving your newly propagated hibiscus plants to new pots or locations, they may experience transplant shock, characterized by wilting, yellowing leaves, or stunted growth. To minimize this, be gentle when transplanting, ensure the new environment is suitable, and provide adequate water and care during the transition period.
Tips for Successful Hibiscus Propagation
To improve your chances of success when propagating hibiscus plants, keep these tips in mind:
- Maintain Hygiene and Sterilization: Always use clean, sharp tools and sterilize them between uses to prevent the spread of diseases. Use fresh, sterile potting mixes and avoid reusing old soil that may harbor pathogens.
- Use High-Quality Tools and Materials: Invest in quality pruning shears, rooting hormones, and potting mixes. This will not only make your propagation efforts more efficient but also increase your success rates.
- Provide Optimal Growing Conditions: Create a warm, humid environment for your hibiscus propagations, and ensure they receive the right amount of light, water, and nutrients. Consider using a humidity tray or a propagation dome to maintain high humidity levels.
- Monitor and Adjust Care Routines: Regularly check your hibiscus propagations for signs of stress, disease, or pest infestations. Adjust your care routines as needed, and don’t be afraid to experiment with different techniques to find what works best for your specific plants and growing conditions.
Conclusion
Propagating hibiscus plants is a rewarding and cost-effective way to expand your collection and share the beauty of these tropical gems with others.
By understanding the different propagation methods and providing the right care and attention, you can successfully grow new hibiscus plants from stem cuttings, grafting, air layering, or seeds.
Remember to be patient, as propagation can take time, and not every attempt will be successful. However, with practice and dedication, you’ll soon be able to fill your garden with a diverse array of stunning hibiscus plants that you’ve grown yourself.
For more information on hibiscus care and propagation, be sure to check out our other articles, such as “Growing Hibiscus Indoors“, “Hibiscus Plant Care“, and “Florida Hibiscus Care Guide” for more tips and tricks to keep your hibiscus plants thriving.
Happy propagating!