Hibiscus Leaves Drooping? Find Out Why Here!
Have you ever walked into your garden, excited to see your beautiful hibiscus plant, only to find its leaves drooping? It’s a disheartening sight, but don’t worry! Drooping hibiscus leaves are a common problem faced by many plant enthusiasts. Understanding the underlying causes and implementing the right care techniques can help revive your hibiscus to its full glory.
Let me share a relatable story with you. Meet Susan, a passionate gardener who diligently cared for her hibiscus. One summer morning, while wandering through her garden, she noticed the once vibrant leaves of her hibiscus were drooping and wilting. Susan panicked and immediately researched why this was happening.
After delving into the world of hibiscus care, Susan discovered that the drooping leaves could be a result of various factors, such as cold shock, root rot, improper watering, or environmental stress. Armed with this knowledge, Susan took action to revive her hibiscus and ensure it thrived.
Are you facing a similar situation with your hibiscus plant? Don’t worry; you’re not alone. In this article, we’ll guide you through the common problems associated with hibiscus leaves drooping, share valuable care tips, and help you provide the optimal conditions for your beloved hibiscus plant to flourish.
Key Takeaways:
- Understanding the causes of drooping hibiscus leaves will help you address the problem effectively.
- Proper watering, balanced fertilization, and suitable environmental conditions are key to maintaining a healthy hibiscus plant.
- Regular monitoring and proactive care will prevent common problems and ensure the well-being of your hibiscus plant.
- By implementing the right care techniques, you can revive your hibiscus and enjoy its beauty once again.
Recognizing Systemic Cold Wilt
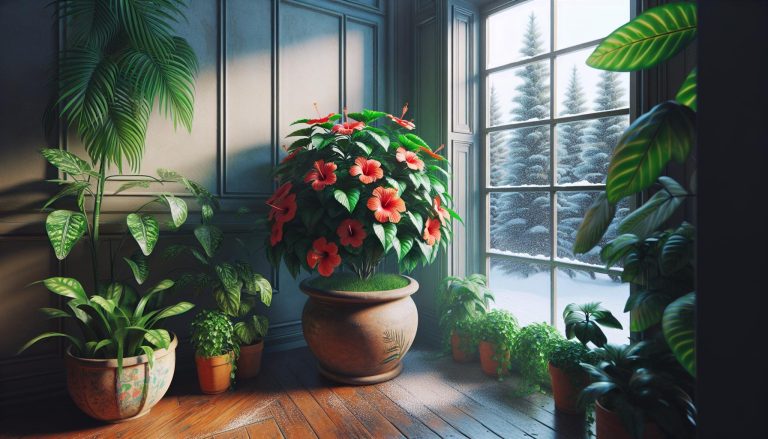
Systemic cold wilt is a common issue that hibiscus plants may experience, causing all the leaves to wilt simultaneously. This condition is characterized by the top leaves appearing pale and limp, while the lower leaves may deteriorate and require removal. Cold temperatures and insufficient humidity are often the culprits behind this condition.
To help your hibiscus plant recover from systemic cold wilt, it is crucial to provide a warmer and more humid environment. Move the plant to a location with ample heat and humidity, such as a greenhouse or a bright indoor spot. Be patient during the recovery process, as it may take several weeks or even months for the plant to stabilize and start growing new leaves.
During this phase, it is essential to closely monitor the plant’s progress. In some cases, trimming and removing severely damaged leaves may be necessary to promote healthy growth. Regularly check the soil moisture and adjust your watering practices accordingly, ensuring the soil is slightly dry before watering.
Remember, each hibiscus plant is unique, and recovery times may vary. Providing the optimal conditions and nurturing your hibiscus plant with patience and care will increase its chances of recovering from systemic cold wilt and regaining its vibrancy.
Hibiscus Wilting Remedies – Care at a Glance
| Remedy | Description |
|---|---|
| Provide warmth and humidity | Move the hibiscus plant to a warm and humid location, such as a greenhouse or a bright indoor spot. |
| Be patient | Recovery may take several weeks or months. Monitor the plant’s progress and adjust care accordingly. |
| Trim damaged leaves | Remove severely damaged leaves to promote healthy growth. |
| Monitor soil moisture | Check soil moisture regularly and water when the soil is slightly dry. |
By following these hibiscus wilting remedies, you can help your plant bounce back from systemic cold wilt and enjoy its beautiful blossoms once again.
Dealing with Root Rot
If you notice your hibiscus leaves wilting during the warmer months, it could be a sign of root rot. Root rot occurs when the roots become infected with fungus or mold in the soil, blocking nutrient uptake. As a result, the leaves may appear veiny and pale, lower leaves may be lost, and branch tips may die back. Root rot is more common in wet and cool conditions, particularly during winter.
To prevent root rot, it is crucial to ensure proper drainage in the soil. Make sure excess water can easily drain away, and avoid overwatering your hibiscus. Additionally, providing proper air circulation around the roots can help prevent the buildup of moisture that promotes root rot.

If your hibiscus is already affected by root rot, taking immediate action is necessary. Consider repotting the plant in fresh, well-draining soil to eliminate any remaining sources of fungus or mold. Be sure to remove any affected roots and trim back any damaged leaves or branches. By providing optimal growing conditions and avoiding excess water, you can prevent and treat root rot, ensuring the health and vitality of your hibiscus plant.
Watering Tips for Hibiscus Care
Proper watering plays a crucial role in maintaining healthy hibiscus plants. To ensure your hibiscus thrives, it’s essential to strike the right balance between hydration and avoiding water-related problems.
Watering Frequency
Water your hibiscus when the soil is slightly dry. This helps prevent overwatering, which can lead to yellowing leaves and root rot. Underwatering, on the other hand, can cause browning edges and overall wilting.
Check the soil moisture regularly by inserting your finger an inch or two into the soil. If it feels dry at this depth, it’s time to water your hibiscus. If the soil is still moist, it’s better to wait and avoid overwatering.
Drainage Matters
Proper drainage is essential for hibiscus plants. Make sure the pot or planting area has adequate drainage holes to allow excess water to escape. This prevents waterlogged conditions that can lead to root rot and other problems.
If your hibiscus is in a pot, consider placing a layer of rocks or broken pottery at the bottom before adding soil. This helps create a space for excess water to drain away from the roots.
Adjusting Watering Schedule
During hot and dry weather, your hibiscus may require more frequent watering. Monitor the soil moisture closely to prevent the plant from drying out.
Similarly, during cooler and rainy periods, reduce the watering frequency to avoid overwatering. Remember, hibiscus plants prefer moist soil but not waterlogged conditions.
| Signs of Underwatering | Signs of Overwatering |
|---|---|
|
|
By following these watering tips, you can ensure optimal hydration for your hibiscus plants without risking water-related issues. Remember to pay attention to the specific needs of your hibiscus variety and adjust your watering routine accordingly.
Providing the Right Light and Temperature
When it comes to caring for your hibiscus plants, providing the right light and temperature conditions is crucial for their overall health and well-being.
Light: Hibiscus plants thrive in bright, direct sunlight. It is recommended to place your hibiscus in a location that receives at least 4-6 hours of direct sun per day. This will ensure that your plant gets the necessary light energy for photosynthesis and proper growth. However, be cautious of midday sun and extreme heat, as they can cause stress to the plant. If you live in a hot climate, providing some shade during the hottest parts of the day can help protect your hibiscus from heat stress.
Temperature: Maintaining the right temperature range is essential for hibiscus plants. They thrive in temperatures between 60-85°F (16-29°C). It is important to avoid placing your hibiscus near air conditioners or heaters that can cause dramatic temperature fluctuations. These fluctuations can stress the plant and lead to leaf curling and other problems. Consistency is key to providing the right temperature for your hibiscus. Creating a stable and suitable environment will promote optimal growth and flowering.
By ensuring that your hibiscus plants receive the right amount of light and are kept in an appropriate temperature range, you can help prevent many common hibiscus plant problems, including leaf curling. Remember, consistency is key, so monitor the light and temperature conditions regularly to ensure your hibiscus plants thrive.

Hibiscus Light and Temperature Guidelines
| Light | Temperature |
|---|---|
| Bright, direct sunlight for 4-6 hours per day | 60-85°F (16-29°C) |
| Avoid midday sun and extreme heat | Avoid temperature fluctuations caused by air conditioners or heaters |
| Provide some shade during the hottest parts of the day | Monitor and maintain consistent temperature conditions |
Nutrient Needs and Fertilization
Hibiscus plants require appropriate nutrients for healthy growth. To ensure your hibiscus thrives, it’s important to understand their specific nutrient needs and implement a proper fertilization routine.
Identifying Deficiencies
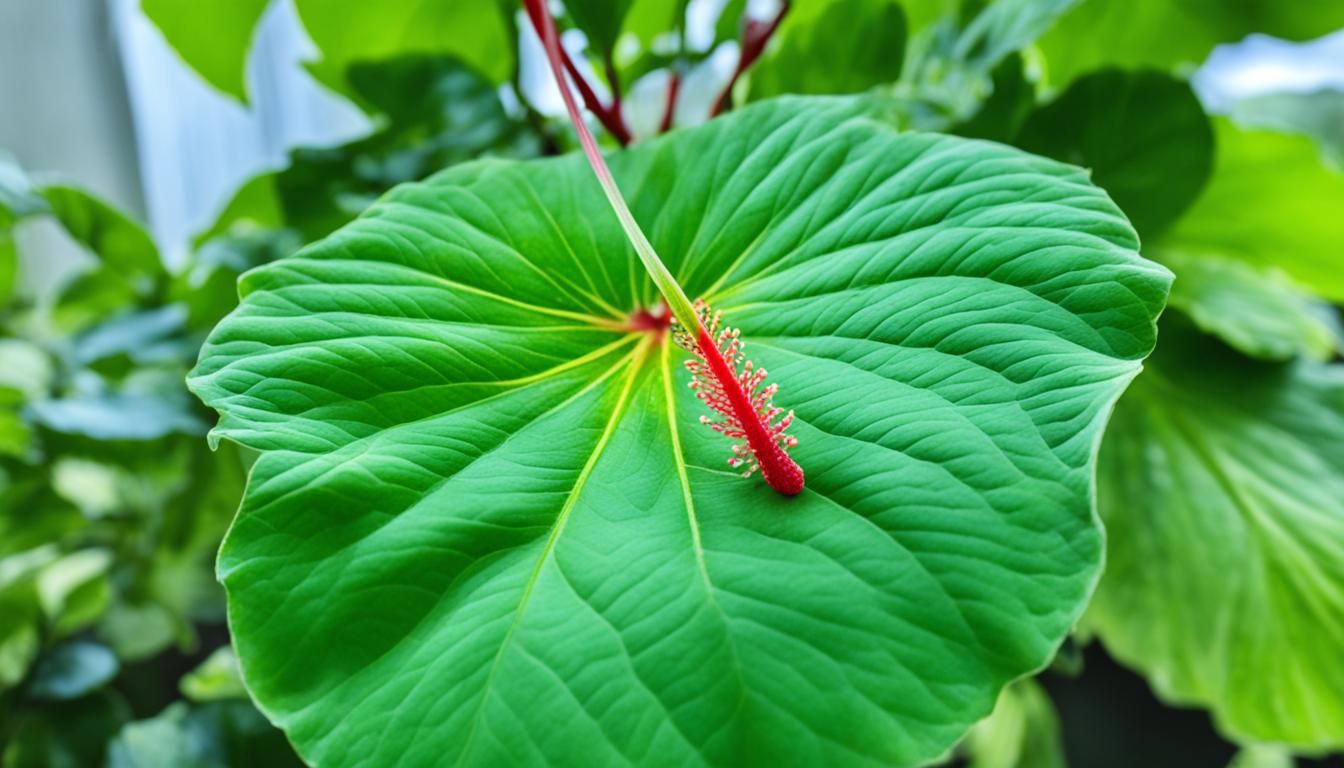
Yellowing leaves can be a sign of a nitrogen deficiency in hibiscus plants. If you notice your hibiscus leaves turning yellow, it may be an indication that they need more nitrogen to support their growth. On the other hand, stunted growth could be a result of potassium or phosphorus deficiency.
Choosing the Right Fertilizer
When it comes to fertilizing your hibiscus, it’s crucial to choose the right fertilizer that meets its specific needs. Balanced fertilizers, such as a 10-10-10 or 20-20-20 blend, are a good starting point. These fertilizers provide equal proportions of nitrogen, phosphorus, and potassium, ensuring a balanced nutrient intake for your hibiscus.
Adjusting Fertilization
While balanced fertilizers work well for most hibiscus plants, it’s important to monitor your plant’s response and make adjustments if needed. Observing the growth and overall health of your hibiscus will help you determine if it requires more or less fertilizer. You can gradually increase or decrease the frequency or concentration of your fertilization based on your plant’s needs.
Establishing a Fertilization Schedule
Consistency is key when it comes to fertilizing your hibiscus plants. Establish a regular fertilization schedule to ensure your hibiscus receives a steady supply of nutrients. Depending on the fertilizer you choose, you may apply it every 4-6 weeks during the growing season, while reducing or stopping fertilization during the dormant period.
Monitoring and Adjusting
Regular monitoring of your hibiscus plants is essential to ensure they are receiving the right nutrients. Keep an eye on their growth, color, and overall health, and make adjustments to your fertilization routine as needed. By paying close attention to your hibiscus and providing the appropriate nutrients, you can promote healthy growth and vibrant blooms.
Crafting a Care Routine
Consistency is key when it comes to caring for your hibiscus plants. By establishing a regular care routine, you can ensure that your plants thrive and remain healthy. Here are some essential care tips to consider:
1. Proper Watering
Watering your hibiscus plants correctly is crucial for their well-being. Be mindful of not overwatering or underwatering them. It’s best to water your plants when the soil is slightly dry, ensuring proper drainage. Regularly check the soil moisture and adjust your watering schedule accordingly. Remember to use room temperature water to avoid shocking the plant.
2. Adequate Sunlight
Hibiscus plants love bright, direct sunlight. Ensure that your plants are placed in a location where they can receive at least 4-6 hours of direct sun per day. However, be cautious of extreme heat and midday sun, as they can cause stress to the plant. Find a balance between providing sufficient sunlight and protecting your plant from excessive heat.
3. Balanced Fertilization
Proper fertilization is crucial for meeting your hibiscus plant’s nutrient needs. Choose a balanced fertilizer that addresses any specific deficiencies your plant may have. Follow the recommended instructions for application and establish a consistent fertilization schedule. Regularly monitor your plant’s response to the fertilizer and make adjustments as needed.

4. Seasonal Adjustments
As the seasons change, it is important to adjust your care routine accordingly. Hibiscus plants have different needs during different times of the year. Pay attention to environmental conditions such as temperature, humidity, and light intensity, and make necessary adjustments to provide the optimal conditions for your plants to thrive.
5. Monitoring and Observation
Regularly monitor your hibiscus plants for any signs of wilting or disease. Early identification of problems allows for timely intervention and adjustments to your care routine. Keep an eye out for changes in leaf color, wilting, or pest infestations. By observing your plants closely, you can address any issues promptly and ensure their continued health.
| Care Tips | Benefits |
|---|---|
| Proper watering | Prevents over or under-watering, maintains soil moisture balance |
| Adequate sunlight | Promotes healthy growth and vibrant blooms |
| Balanced fertilization | Satisfies the plant’s nutritional needs for optimal health |
| Seasonal adjustments | Adapts care routine to changing environmental conditions |
| Monitoring and observation | Early detection of issues for timely intervention |
By crafting a care routine that encompasses these essential tips, you can ensure the health and vitality of your hibiscus plants. Consistency in care, along with monitoring and adjustment, will go a long way in preventing problems and allowing your plants to thrive.
Preventive Strategies for Healthy Hibiscus Plants
To ensure the health and vitality of your hibiscus plants, it’s essential to be proactive in their care. By crafting a care routine that suits your plant’s specific needs and maintaining consistency in providing the right conditions, you can prevent many common issues that hibiscus plants may encounter.
Regular monitoring and observation play a crucial role in detecting early signs of problems and making timely adjustments to the care routine. Pay close attention to environmental factors such as light, temperature, and humidity, as they can significantly impact your plant’s well-being.
Protect your hibiscus plants from stressors such as drafts and pests, as they can cause damage and hinder their growth. By taking preventive measures, you can significantly reduce the risk of hibiscus plant problems and ensure their long-term health.
Key Preventive Strategies:
- Craft a Care Routine: Develop a care routine that meets the specific needs of your hibiscus plants. This routine should include regular watering, appropriate fertilization, and optimal environmental conditions.
- Maintain Consistency: Consistency is vital in providing the right conditions for your hibiscus plants. Stick to a regular watering schedule and ensure they receive adequate sunlight and balanced nutrients throughout the year.
- Monitor and Observe: Regularly check your hibiscus plants for any signs of wilting, leaf discoloration, or other problems. By catching these issues early, you can intervene promptly and prevent them from escalating.
- Environmental Awareness: Pay attention to environmental factors such as light, temperature, and humidity. Adjust the conditions as needed to create an optimal environment for your hibiscus plants to thrive.
- Protection from Stressors: Shield your hibiscus plants from drafts and pests. Drafts can cause stress and lead to wilting, while pests can damage the leaves and inhibit growth. Take preventive measures to keep these stressors at bay.
By implementing these preventive strategies, you can ensure that your hibiscus plants remain healthy and vibrant. Being proactive in their care will limit the occurrence of common problems and allow your plants to flourish.
Balancing Watering Practices
Proper watering is essential for maintaining the health of your hibiscus plants. Finding the right balance in watering practices is crucial to prevent common issues such as yellowing leaves, root rot, and overall wilting. Here are some tips to help you achieve optimal watering:
1. Check Soil Moisture
Regularly check the moisture level of the soil before watering your hibiscus. Insert your finger about 2 inches into the soil and water only when it feels slightly dry. This will ensure that you’re providing adequate water without overwatering.
2. Ensure Proper Drainage
It’s important to ensure that the pot has proper drainage to avoid waterlogged conditions. Excess water can lead to root rot and other fungal diseases. Choose a well-draining potting mix and a container with drainage holes.
3. Adjust Watering Schedule
The frequency of watering will depend on various factors, including the environment, temperature, and humidity. During hot summer months, your hibiscus may require more frequent watering, while in cooler months, you may need to reduce watering. Observe your plant’s response to find the right watering schedule.
4. Use Room Temperature Water
When watering your hibiscus, always use room temperature water. Cold water can shock the roots and cause stress to the plant. Fill a watering can or container with water and let it sit for a few hours to reach room temperature before watering.
By practicing these watering tips, you can maintain the health and vitality of your hibiscus plants. Remember to monitor your plant’s moisture levels regularly, adjust the watering schedule as needed, and provide room temperature water for the best results.
Maintaining Optimal Environmental Conditions
Providing the right environmental conditions is crucial for the overall health and well-being of your hibiscus plant. By ensuring that your plant is located in an ideal spot, avoiding extreme heat and midday sun, and maintaining the appropriate temperature range, you can help create an optimal environment for your hibiscus to thrive. Protecting your plant from drafts and maintaining optimal humidity levels are also important factors to consider.
Location and Sunlight
When choosing a location for your hibiscus plant, make sure it receives adequate sunlight. Hibiscus plants love bright, direct sunlight and should be placed in an area that receives at least 4-6 hours of direct sun each day. However, be cautious of exposing your plant to excessive heat or direct midday sun, as this can cause stress to the plant.
Temperature Control
Maintaining the right temperature range is essential for your hibiscus plant’s well-being. Hibiscus plants prefer temperatures between 60-85°F (16-29°C). It’s important to avoid sudden temperature shifts, as they can be detrimental to your plant’s health. Keep your hibiscus away from heating or cooling systems that can cause dramatic temperature fluctuations, and ensure that the room temperature remains consistent.
Draft Protection and Humidity
Protect your hibiscus plant from drafts, as they can lead to stress and damage. Keep your plant away from doors, windows, and air vents that may cause sudden air currents. Additionally, maintaining optimal humidity levels will help your hibiscus thrive. If the air in your home is dry, consider using a humidifier or placing a tray of water near the plant to increase humidity.
Summary
Maintaining optimal environmental conditions is an important aspect of hibiscus care. By placing your plant in a location with adequate sunlight, avoiding extreme heat and midday sun, maintaining a stable temperature range, protecting it from drafts, and maintaining optimal humidity levels, you can create an ideal environment for your hibiscus to flourish.
Meeting Nutrient Needs through Fertilization
Proper fertilization is essential for the overall health and well-being of your hibiscus plant. By providing the right balance of nutrients, you can promote healthy growth, vibrant foliage, and beautiful blooms. Identifying nutrient deficiencies in your hibiscus plant is crucial to determine the appropriate fertilizer to use.
Identifying Nutrient Deficiencies
Hibiscus yellowing leaves or stunted growth can be signs of nutrient deficiencies. Yellowing leaves may indicate a lack of essential nutrients such as nitrogen, iron, or magnesium. Stunted growth, on the other hand, may suggest a deficiency in potassium, phosphorus, or calcium. Pay close attention to the visual symptoms exhibited by your hibiscus plant to identify the specific nutrient requirement.
To address these deficiencies, choose a fertilizer that contains the necessary nutrients in the correct proportions. Look for fertilizers specifically formulated for hibiscus plants or those designed to address the identified nutrient deficiencies. The packaging should provide a detailed list of ingredients and nutrient concentrations.
Applying Fertilizer
Once you have selected the appropriate fertilizer, it’s important to follow the recommended application instructions. Different fertilizers may have varying application rates and frequencies. Generally, it is recommended to apply fertilizer to hibiscus plants every 4-6 weeks during the growing season, which typically starts in spring and continues through summer.
For granular fertilizers, sprinkle the recommended amount evenly around the base of the plant, taking care not to let the fertilizer come into direct contact with the leaves or stems. Water the plant thoroughly after application to ensure proper absorption of nutrients.
Monitoring and Adjusting
Regular monitoring of your hibiscus plant’s response to the fertilizer is crucial. Keep an eye on the overall health and growth of the plant, as well as any changes in leaf color or size. If you notice any negative effects, such as leaf discoloration or leaf curling, it may be necessary to adjust the fertilization schedule or switch to a different fertilizer.
Remember that hibiscus plants have different nutrient requirements at different stages of growth. For example, during the blooming phase, they may benefit from a higher phosphorus concentration to promote abundant and vibrant flowers. As the plant matures, it may require more potassium to support overall health and disease resistance.
By establishing a consistent fertilization schedule and closely monitoring your hibiscus plant’s nutrient needs, you can ensure its continued growth and vitality.

| Nutrient | Function | Deficiency Symptoms |
|---|---|---|
| Nitrogen | Stimulates leaf and stem growth | Yellowing leaves, stunted growth |
| Phosphorus | Promotes root development and flowering | Poor root growth, reduced flower production |
| Potassium | Aids in overall plant health and disease resistance | Weak stems, leaf discoloration |
| Iron | Essential for chlorophyll production | Yellowing leaves with green veins |
| Magnesium | Required for chlorophyll synthesis | Yellowing between leaf veins |
| Calcium | Strengthens cell walls and supports growth | Young leaves distorted or necrotic |
Conclusion
In conclusion, drooping hibiscus leaves can be a result of various factors such as cold shock, root rot, improper watering, environmental stress, or nutrient deficiencies. To ensure the health and vitality of your hibiscus plant, it is important to understand its specific needs and implement proper care techniques. By maintaining consistency in watering, light exposure, temperature, and fertilization, you can create an optimal environment for your hibiscus to thrive.
Regular monitoring and proactive care are key in preventing and addressing hibiscus plant problems. By observing your plant closely, you can identify signs of leaf discoloration or wilting early on and take necessary action. Remember to provide adequate water to prevent both overwatering and underwatering, maintain suitable light and temperature conditions, and address nutrient deficiencies through proper fertilization.
By following these hibiscus care tips, you can promote healthy growth and prevent common problems. Take pride in cultivating a beautiful hibiscus plant by providing the ideal care routine and ensuring the well-being of your plant. With a little attention and care, your hibiscus will reward you with vibrant blooms and lush foliage.