Can Hibiscus Be Propagated? Easy Methods for Growing New Plants at Home
As an avid gardener, I’ve always been fascinated by the vibrant beauty of hibiscus flowers. Their large, colorful blooms can instantly brighten up any garden or indoor space. But have you ever wondered if you can propagate these stunning plants yourself?
The good news is that hibiscus can indeed be propagated! Whether you’re looking to expand your collection or share your favorite varieties with friends, there are several methods to multiply these tropical beauties. From stem cuttings to air layering, the possibilities are exciting. But which technique is best for you? And what do you need to know to ensure success?
Understanding Hibiscus Propagation
Hibiscus propagation is a fascinating process that allows gardeners to multiply their favorite plants. There are several methods to propagate hibiscus, each with its own set of advantages and challenges.
Stem Cutting Propagation
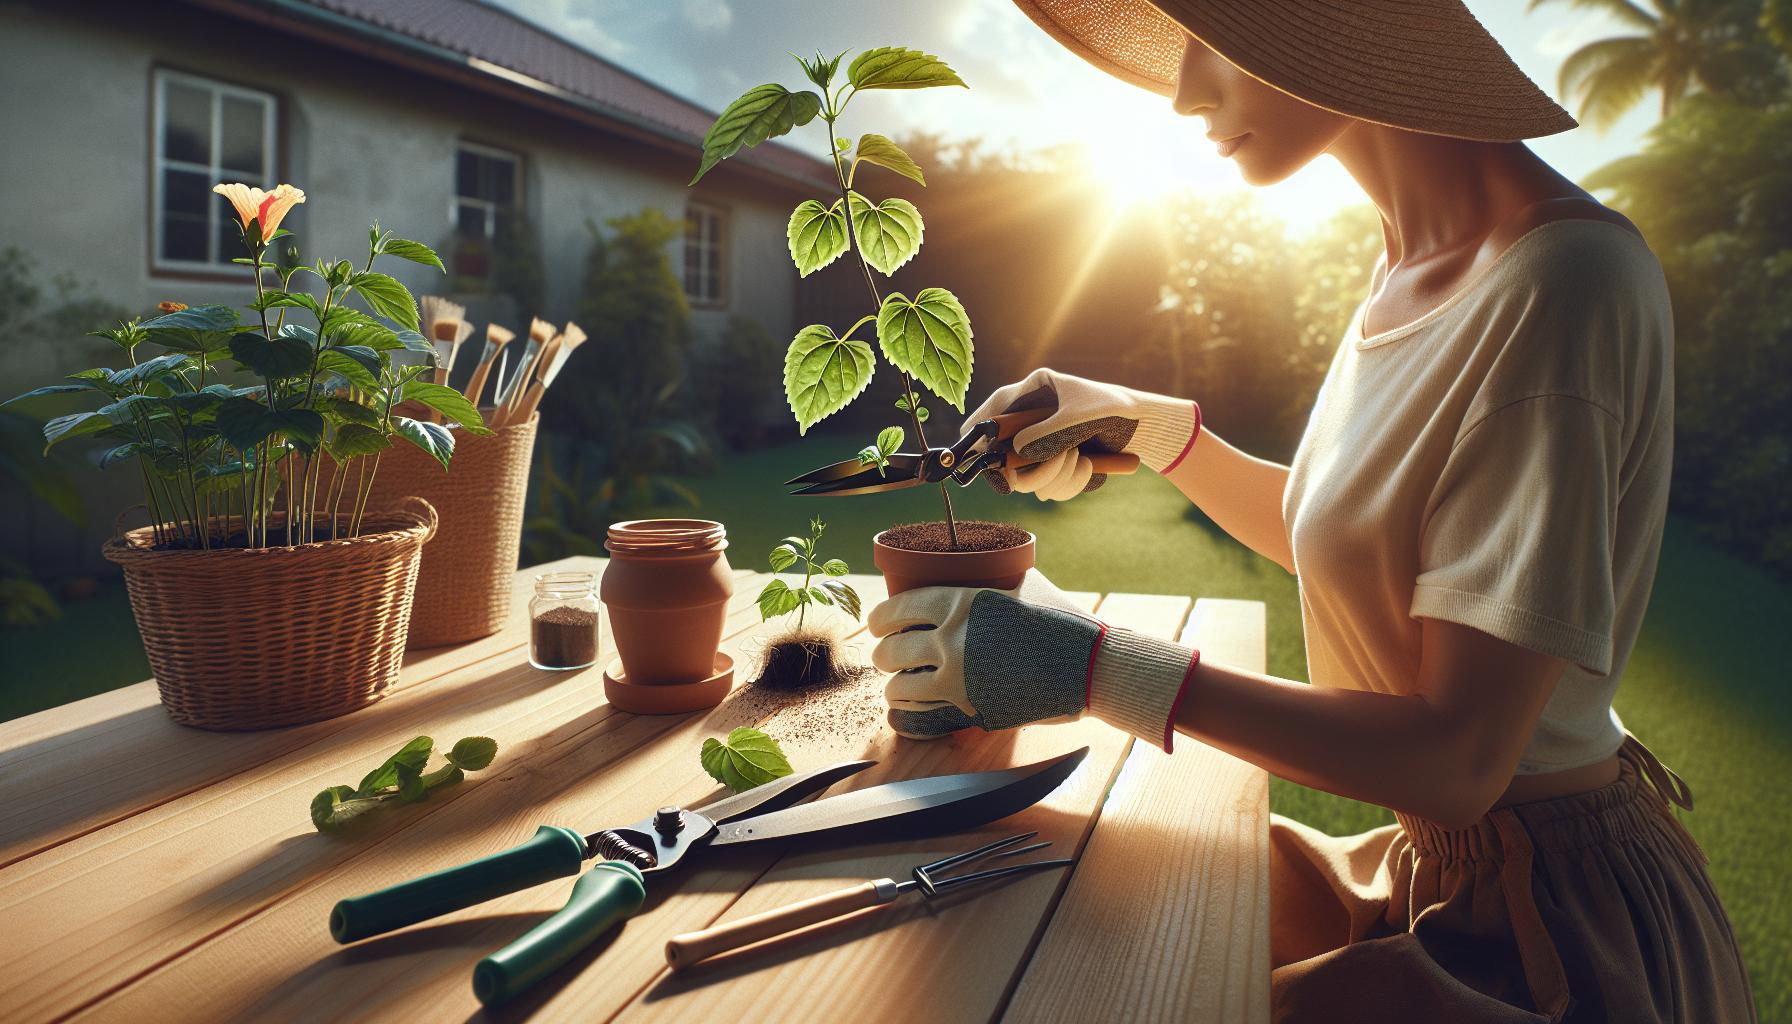
Stem cutting is the most common and straightforward method for hibiscus propagation. Here’s how it works:
- Choose a healthy stem: Select a 4-6 inch stem with at least two leaf nodes.
- Prepare the cutting: Remove lower leaves, leaving only 2-3 at the top.
- Apply rooting hormone: Dip the cut end in rooting hormone powder.
- Plant the cutting: Insert it into a well-draining potting mix.
- Maintain humidity: Cover with a clear plastic bag to create a mini-greenhouse.
- Provide indirect light: Keep the cutting in bright, indirect sunlight.
- Monitor moisture: Water when the soil feels dry to the touch.
Roots typically develop in 3-4 weeks, signaling successful propagation.
Air Layering Technique
Air layering is an effective method for propagating larger hibiscus branches:
- Select a healthy branch: Choose a branch at least 1/2 inch in diameter.
- Make an incision: Cut a 1-inch ring of bark around the branch.
- Apply rooting hormone: Dust the exposed area with rooting hormone.
- Add moist sphagnum moss: Wrap the area with damp moss.
- Cover with plastic: Secure clear plastic wrap around the moss.
- Wait for roots: Roots should appear in 6-8 weeks.
- Remove and plant: Cut below the rooted section and plant in soil.
This technique boasts a high success rate and produces larger plants faster than stem cuttings.
Seed Propagation
While less common, seed propagation offers genetic diversity:
- Collect ripe seeds: Harvest seeds from dried hibiscus pods.
- Scarify seeds: Gently nick the seed coat to improve germination.
- Soak overnight: Place seeds in warm water for 12-24 hours.
- Plant in trays: Use a well-draining seed starting mix.
- Maintain warmth: Keep soil temperature around 70-75°F (21-24°C).
- Provide light: Ensure seedlings receive bright, indirect light.
- Transplant: Move seedlings to individual pots when they have 2-3 true leaves.
Seed-grown hibiscus may not produce flowers identical to the parent plant.
Division Method
For mature hibiscus plants, division is an effective propagation technique:
- Timing: Divide in early spring before new growth begins.
- Dig up the plant: Carefully remove the entire plant from the ground.
- Separate roots: Gently pull apart the root ball or cut with a sharp knife.
- Replant divisions: Place each section in a prepared hole or pot.
- Water thoroughly: Keep soil consistently moist for the first few weeks.
Division works best for herbaceous hibiscus varieties and ensures exact genetic copies of the parent plant.
By understanding these propagation methods, you’ll be well-equipped to expand your hibiscus collection. Each technique offers unique benefits, allowing you to choose the best approach for your specific needs and gardening situation.
Methods of Propagating Hibiscus

Hibiscus plants can be propagated through several effective methods. Each technique offers unique advantages and requires specific approaches for successful reproduction.
Stem Cuttings
Stem cuttings are a popular method for propagating hibiscus. Here’s how to do it:
- Select a healthy stem: Choose a 4-6 inch long stem with at least 2-3 leaf nodes.
- Remove lower leaves: Strip off the lower leaves, leaving only 2-3 at the top.
- Apply rooting hormone: Dip the cut end in rooting hormone powder.
- Plant the cutting: Insert it into a pot filled with well-draining potting mix.
- Maintain humidity: Cover the pot with a clear plastic bag to create a mini-greenhouse.
- Provide light: Place in a bright area, but avoid direct sunlight.
- Water regularly: Keep the soil moist but not waterlogged.
Roots typically develop in 3-4 weeks. Once established, gradually acclimate the new plant to normal conditions.
Air Layering
Air layering is ideal for propagating larger hibiscus branches:
- Choose a healthy branch: Select a branch about 1/2 inch in diameter.
- Make an incision: Cut a 1-inch ring around the branch, removing the bark.
- Apply rooting hormone: Dust the exposed area with rooting hormone.
- Wrap with moss: Cover the area with damp sphagnum moss.
- Seal with plastic: Wrap the moss with plastic wrap and secure both ends.
- Monitor progress: Roots should form within 6-8 weeks.
- Remove and plant: Cut below the rooted area and plant in potting soil.
This method produces a larger plant more quickly than stem cuttings.
Division
Division is an effective method for mature hibiscus plants:
- Prepare the plant: Water the hibiscus thoroughly a day before division.
- Remove from pot: Gently remove the plant from its container.
- Separate roots: Carefully untangle the root ball, identifying natural divisions.
- Cut apart: Use clean, sharp pruning shears to separate the plant into sections.
- Replant divisions: Place each division in a new pot with fresh potting mix.
- Water and care: Water thoroughly and place in a shaded area for recovery.
Division ensures genetic copies of the parent plant and rejuvenates older hibiscus specimens.
Best Time to Propagate Hibiscus
Timing is crucial for successful hibiscus propagation. The ideal period for this task is during the plant’s active growing season, typically in late spring or early summer. Here’s a breakdown of the optimal timing for different propagation methods:
- Stem Cuttings:
- Late spring to early summer
- When new growth is soft and pliable
- Before flower buds form
- Air Layering:
- Early to mid-spring
- When bark is actively growing
- Before intense summer heat
- Division:
- Early spring
- As new growth emerges
- Before the plant becomes fully active
Temperature plays a significant role in hibiscus propagation. Aim for:
| Temperature Range | Effect on Propagation |
|---|---|
| 70-80°F (21-27°C) | Optimal root development |
| Below 60°F (16°C) | Slow or stunted growth |
| Above 85°F (29°C) | Risk of wilting and stress |
I’ve found that humidity is equally important. A range of 60-70% humidity promotes root growth and prevents cuttings from drying out. To maintain this level, you can:
- Use a clear plastic bag to cover cuttings
- Mist regularly with water
- Place a humidity tray nearby
Avoid propagating hibiscus during extreme weather conditions:
- Intense heat waves
- Cold snaps or frost periods
- Heavy rainfall seasons
By choosing the right time and conditions, you’ll set your hibiscus propagation up for success. Remember, patience is key – it may take several weeks to see results, but the reward of new, thriving plants is worth the wait.
Essential Tools and Materials for Propagation
To propagate hibiscus successfully, I’ve found that having the right tools and materials is crucial. Here’s what you’ll need:
- Pruning shears:
- Clean, sharp blades
- Bypass pruners for clean cuts
- Rooting hormone:
- Powder or gel form
- Stimulates root growth
- Potting mix:
- Well-draining
- Mix of peat moss, perlite, and vermiculite
- Containers:
- 4-6 inch pots
- Drainage holes essential
- Plastic bags or propagation domes:
- Create mini-greenhouses
- Maintain humidity
- Heat mat:
- Provides bottom heat
- Promotes faster root development
- Spray bottle:
- Fine mist setting
- Keeps cuttings hydrated
- Labels:
- Waterproof markers
- Track propagation dates and varieties
- Gloves:
- Protect hands
- Nitrile or latex for precision work
- Sterilizing solution:
- 1 part bleach to 9 parts water
- Clean tools between cuts
These tools ensure a smooth propagation process. I’ve learned that clean, sharp pruners make all the difference in getting healthy cuttings. A good rooting hormone can be a game-changer, especially for trickier varieties. Don’t skimp on the potting mix – a quality blend sets the stage for strong root development.
Remember, patience is key. With these tools and a little TLC, you’ll be well on your way to expanding your hibiscus collection. Just like cooking, having all your “ingredients” prepped makes the whole process more enjoyable and increases your chances of success.
Step-by-Step Guide to Propagating Hibiscus
Propagating hibiscus is a rewarding process that allows you to expand your garden with new plants. I’ll walk you through the essential steps to successfully propagate hibiscus, drawing from my experience with these beautiful flowers.
Preparing the Cuttings
- Choose healthy stems: Select 4-6 inch stems with at least 2-3 leaf nodes.
- Clean your tools: Sterilize pruning shears with rubbing alcohol to prevent disease spread.
- Make the cut: Cut the stem at a 45-degree angle just below a leaf node.
- Remove lower leaves: Strip leaves from the bottom 2/3 of the cutting, leaving 2-3 leaves at the top.
- Treat the cut end: Dip the cut end in rooting hormone powder to stimulate root growth.
Rooting the Cuttings
- Prepare rooting medium: Fill small pots with a well-draining mix of peat moss and perlite.
- Plant the cuttings: Make holes in the medium and insert cuttings, ensuring the remaining leaves don’t touch the soil.
- Create humidity: Cover pots with clear plastic bags, leaving space for air circulation.
- Provide warmth: Place pots on a heat mat set to 70-75°F (21-24°C).
- Maintain moisture: Mist cuttings daily and keep the soil slightly damp.
- Monitor progress: Roots typically develop in 2-4 weeks. Gently tug on cuttings to check for resistance.
- Check root development: Ensure roots are at least 1-2 inches long before transplanting.
- Prepare new pots: Fill 6-inch pots with well-draining potting mix.
- Transplant carefully: Gently remove rooted cuttings and place them in new pots at the same depth.
- Water thoroughly: Saturate the soil and allow excess water to drain.
- Acclimate gradually: Place plants in a sheltered spot and slowly introduce them to more sunlight over 7-10 days.
- Fertilize lightly: Begin feeding with a diluted, balanced fertilizer after 2-3 weeks.
Common Challenges in Hibiscus Propagation
Propagating hibiscus can be tricky, even for experienced gardeners. Here are some common hurdles you might face:
- Root rot:
- Overwatering cuttings
- Poor drainage in propagation medium
- Tip: Use well-draining soil and water sparingly
- Slow root development:
- Insufficient humidity
- Incorrect temperature
- Solution: Create a mini-greenhouse with a plastic bag
- Leaf drop:
- Stress from cutting
- Improper light conditions
- Fix: Provide indirect light and maintain consistent moisture
- Fungal infections:
- High humidity without air circulation
- Contaminated tools
- Prevention: Sterilize tools and ensure good air flow
- Transplant shock:
- Abrupt environmental changes
- Root damage during transplanting
- Remedy: Gradually acclimate plants and handle roots gently
- Pest infestations:
- Aphids, spider mites, whiteflies
- Weakened cuttings are more susceptible
- Action: Monitor closely and use organic pest control methods
- Nutrient deficiencies:
- Poor soil quality
- Lack of fertilization
- Solution: Use a balanced, water-soluble fertilizer once roots develop
- Temperature fluctuations:
- Exposure to drafts or extreme temperatures
- Fix: Keep cuttings in a stable environment, away from windows and vents
- Insufficient light:
- Weak, leggy growth
- Slow development
- Tip: Provide bright, indirect light or use grow lights
- Incorrect cutting selection:
- Using flowering or woody stems
- Choosing diseased or pest-infested branches
- Solution: Select healthy, green, non-flowering stems for best results
By anticipating these challenges, you’ll be better prepared to tackle them head-on and increase your chances of successful hibiscus propagation.
Caring for Newly Propagated Hibiscus Plants
Watering and Humidity
Newly propagated hibiscus plants need consistent moisture. I water them daily, keeping the soil damp but not waterlogged. A gentle misting helps maintain humidity, crucial for root development. I’ve found that using a spray bottle twice a day works wonders.
Light Requirements
Bright, indirect light is ideal for young hibiscus. I place them near east-facing windows or use sheer curtains to filter strong sunlight. Too much direct sun can scorch delicate leaves, while insufficient light stunts growth.
Temperature Control
Hibiscus thrive in warm environments. I maintain temperatures between 65-75°F (18-24°C). Avoiding drafts and sudden temperature changes is key to preventing stress on the new plants.
Fertilization
I hold off on fertilizing for the first 4-6 weeks. After this period, I use a balanced, water-soluble fertilizer at half strength every 2 weeks. This gentle approach supports growth without overwhelming the young roots.
Pruning and Shaping
Light pruning encourages bushy growth. I pinch off the tips of new shoots once they’re 6 inches long. This promotes branching and creates a fuller plant.
Pest Management
Young hibiscus are vulnerable to pests. I inspect leaves regularly for aphids, spider mites, and whiteflies. If spotted, I use insecticidal soap or neem oil, applying it carefully to avoid stressing the plant.
Transplanting
Once roots are well-established, usually after 8-10 weeks, it’s time to transplant. I use a pot 1-2 inches larger than the current one, filled with well-draining potting mix. Gentle handling during this process is crucial to avoid root damage.
By following these care tips, newly propagated hibiscus plants have the best chance of thriving and eventually producing those stunning blooms we all love.
Conclusion
Propagating hibiscus is a rewarding process that allows you to expand your garden with beautiful blooms. By following the methods and tips outlined in this guide you’ll be well-equipped to successfully grow new hibiscus plants. Remember that patience and proper care are key to nurturing your newly propagated hibiscus. With the right approach you can enjoy a thriving collection of these stunning flowers in your garden or home. So don’t hesitate to give hibiscus propagation a try – you might just discover a new passion for cultivating these vibrant plants!


