Black Spots on Hibiscus Leaves: Causes, Treatment, and Prevention Tips
As a passionate gardener, I’ve encountered my fair share of plant problems. One issue that often puzzles hibiscus owners is the appearance of black spots on their beloved plants’ leaves. These unsightly blemishes can be worrying, leaving many wondering if their prized hibiscus is doomed.
But don’t fret! I’m here to shed light on this common concern. What causes these mysterious black spots? Are they a sign of a serious disease, or simply a minor setback? In this article, I’ll explore the potential culprits behind black spots on hibiscus leaves and provide practical solutions to restore your plant’s health and beauty.
Understanding Black Spots on Hibiscus Leaves
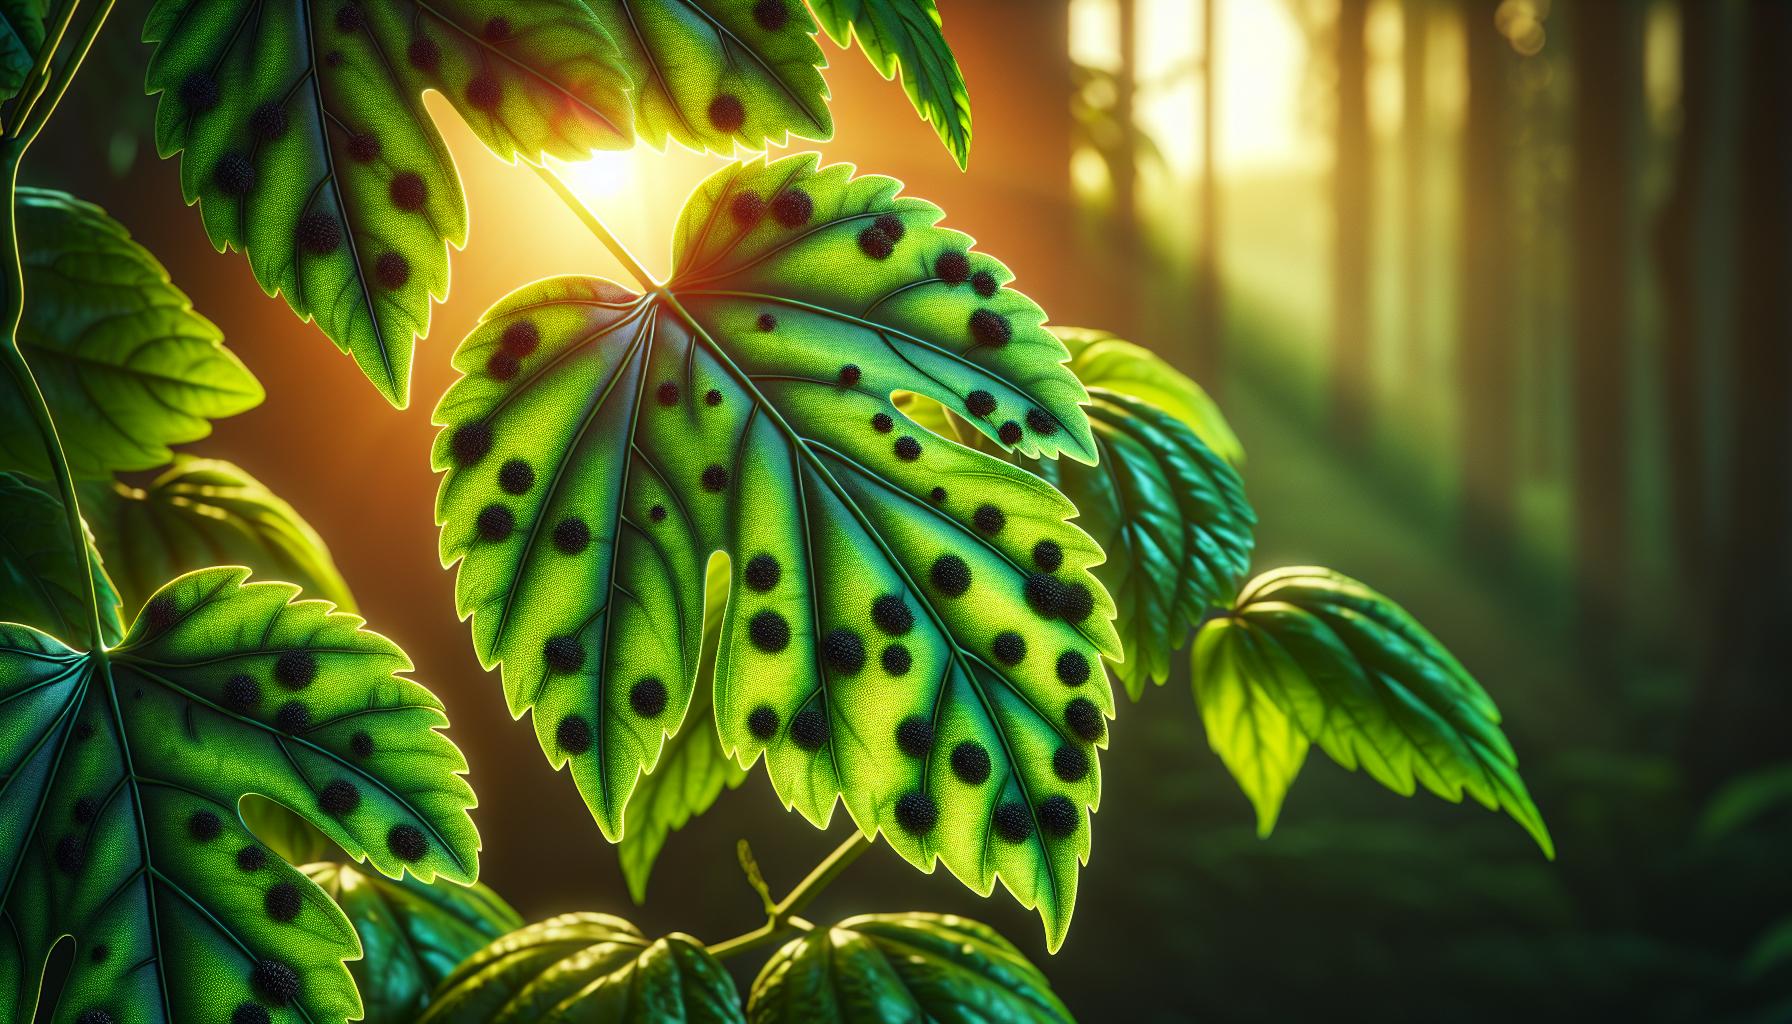
Black spots on hibiscus leaves are a common issue that can be caused by various factors. These spots often appear as circular, dark brown to black lesions on the leaf surface. While they’re concerning for many gardeners, not all black spots indicate a severe problem.
Fungal infections are the primary culprits behind black spots on hibiscus leaves. The most common fungi responsible for this issue include:
- Cercospora leaf spot
- Phyllosticta leaf spot
- Alternaria leaf spot
These fungi thrive in warm, humid conditions and spread through water splashing or wind-blown spores. Overwatering, poor air circulation, and overcrowding can create an ideal environment for fungal growth.
Environmental factors also play a role in the development of black spots:
- Sunburn: Excessive direct sunlight can cause leaf tissue damage, appearing as dark spots
- Nutrient deficiencies: Lack of essential nutrients like magnesium or iron can lead to discoloration
- Temperature stress: Extreme cold or heat can damage leaf cells, resulting in dark spots
It’s important to note that not all black spots are caused by diseases. Sometimes, they’re a natural part of the plant’s aging process or a response to environmental stress. However, if the spots are numerous, spreading rapidly, or accompanied by other symptoms like leaf yellowing or wilting, it’s likely a sign of a more serious issue that requires attention.
To accurately diagnose the cause of black spots on your hibiscus leaves, consider the following factors:
- Size and shape of the spots
- Rate of spread
- Presence of other symptoms
- Recent changes in care or environment
By understanding the underlying causes of black spots, you’ll be better equipped to take appropriate action and maintain the health of your hibiscus plants.
Common Causes of Black Spots

Black spots on hibiscus leaves stem from various sources, each with distinct characteristics and effects on plant health. Understanding these causes is crucial for effective treatment and prevention.
Fungal Infections
Fungal infections are a primary culprit behind black spots on hibiscus leaves. These infections thrive in humid conditions and poor air circulation. Common fungal diseases affecting hibiscus include:
- Leaf spot disease: Circular black spots with yellow halos
- Sooty mold: A black, powdery coating on leaves
- Botrytis blight: Gray-brown spots that rapidly spread
Fungal spores spread through water splashes and contaminated gardening tools. Overwatering and leaving foliage wet overnight increase the risk of fungal growth.
Pest Infestations
Certain pests can cause black spots on hibiscus leaves through feeding damage or excretions:
- Aphids: Secrete honeydew, leading to sooty mold growth
- Spider mites: Cause stippling that appears as dark spots
- Scale insects: Leave behind black, crusty residue
Pest infestations often accompany other symptoms like leaf distortion, stunted growth, and visible insects on the plant’s undersides.
Environmental Factors
Environmental stressors contribute to black spots on hibiscus leaves:
- Sunburn: Excessive direct sunlight causes dark, scorched patches
- Frost damage: Cold temperatures lead to blackened leaf edges
- Nutrient deficiencies: Lack of essential nutrients results in discoloration
- Chemical injury: Improper application of fertilizers or pesticides causes spotting
These environmental factors weaken the plant’s defenses, making it more susceptible to fungal infections and pest infestations.
Identifying Black Spot Symptoms
Black spot symptoms on hibiscus leaves are distinctive and often progress over time. Recognizing these symptoms early is crucial for effective treatment and prevention of further damage to the plant.
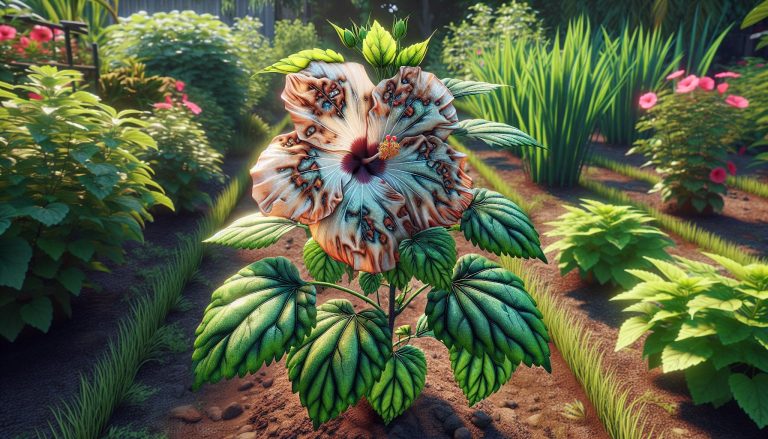
Appearance and Progression
Black spots on hibiscus leaves typically start as small, circular lesions with dark brown or black centers. These spots range from 1/8 to 1/4 inch in diameter and often have yellow halos surrounding them. As the infection progresses, the spots may enlarge and merge, forming irregular dark patches on the leaf surface. Severely affected leaves eventually turn yellow, wither, and drop prematurely, weakening the plant.
Distinguishing from Other Leaf Issues
To differentiate black spot from other leaf problems:
- Texture: Black spot lesions are slightly raised and have a velvety texture, unlike sunburn damage which appears as dry, crispy patches.
- Pattern: The spots are randomly distributed across the leaf surface, unlike nutrient deficiencies that often follow leaf veins.
- Leaf underside: Check for sooty mold, which appears as a black, powdery coating on the underside of leaves, indicating pest infestation rather than fungal infection.
- Seasonality: Black spot thrives in warm, humid conditions, while frost damage occurs in cold weather and appears as brown, mushy areas on leaves.
- Associated symptoms: Look for leaf yellowing, premature leaf drop, and reduced plant vigor, which are common with black spot infections but not always present with other issues.
By carefully observing these characteristics, I can accurately identify black spot symptoms and distinguish them from other leaf problems affecting hibiscus plants.
Prevention Strategies for Healthy Hibiscus
Preventing black spots on hibiscus leaves requires a proactive approach to plant care. I’ll share effective strategies to maintain healthy hibiscus plants and minimize the risk of black spot development.
Proper Watering Techniques
Hibiscus plants thrive with consistent moisture, but overwatering leads to fungal growth and black spots. I water my hibiscus deeply once the top inch of soil feels dry. This technique encourages deep root growth and prevents waterlogged soil. I always water at the base of the plant, avoiding wetting the leaves to reduce fungal spore spread. In areas with high humidity, I use drip irrigation or soaker hoses to deliver water directly to the roots.
Maintaining Optimal Growing Conditions
Creating an ideal environment for hibiscus plants significantly reduces the risk of black spots. I ensure my hibiscus receives 6-8 hours of direct sunlight daily, promoting robust growth and disease resistance. Proper air circulation is crucial, so I space plants adequately and prune dense foliage. I use well-draining soil enriched with organic matter to prevent waterlogging. Regular fertilization with a balanced, slow-release fertilizer maintains plant vigor. I also monitor temperature, protecting hibiscus from frost and extreme heat, which can stress the plant and make it susceptible to black spots.
Treatment Options for Black Spots
Black spots on hibiscus leaves require prompt treatment to prevent further damage and spread. I’ll outline effective natural remedies and chemical solutions to address this issue.
Natural Remedies
Natural treatments offer eco-friendly options for managing black spots on hibiscus leaves. Here are some effective methods:
- Neem oil spray: Mix 1 tablespoon of neem oil with 1 quart of water and spray on affected leaves weekly.
- Baking soda solution: Combine 1 teaspoon of baking soda with 1 quart of water and apply to leaves every 7-10 days.
- Milk spray: Dilute 1 part milk with 9 parts water and spray on leaves biweekly.
- Garlic extract: Blend 3-4 cloves of garlic with 1 quart of water, strain, and spray on affected areas.
- Pruning: Remove heavily infected leaves and dispose of them properly to prevent spread.
These natural remedies are gentle on plants and beneficial insects while effectively combating black spots.
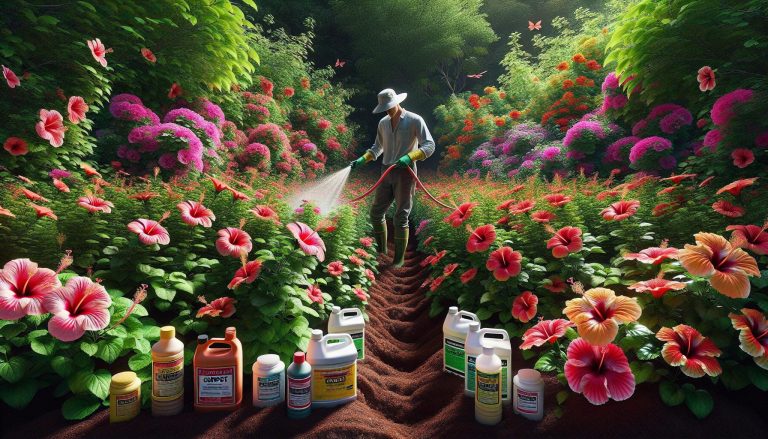
Chemical Solutions
When natural remedies aren’t sufficient, chemical treatments can provide more potent control:
- Copper fungicides: Apply every 7-14 days as a preventive measure or at first sign of infection.
- Chlorothalonil: Use this broad-spectrum fungicide according to label instructions for severe cases.
- Propiconazole: Apply this systemic fungicide every 14-21 days for persistent infections.
- Mancozeb: Spray this protective fungicide every 7-10 days during humid conditions.
- Thiophanate-methyl: Use this systemic fungicide for both preventive and curative treatments.
Always follow manufacturer’s instructions and safety precautions when using chemical treatments. Rotate between different active ingredients to prevent fungal resistance.
Long-Term Care for Affected Hibiscus Plants
Soil Management
I maintain optimal soil conditions for hibiscus plants by ensuring proper drainage and nutrient balance. Amending the soil with organic matter improves its structure and water retention capacity. I test the soil pH regularly, aiming for a slightly acidic range of 6.0 to 6.5, which is ideal for hibiscus growth and disease resistance.
Pruning and Sanitization
Regular pruning is essential for long-term hibiscus care. I remove infected leaves and branches promptly, cutting at least 2 inches below the diseased area. Sterilizing pruning tools between cuts with a 10% bleach solution prevents the spread of pathogens. Proper disposal of infected plant material, away from healthy plants, is crucial to avoid reinfection.
Fertilization Practices
I adopt a balanced fertilization regimen to promote overall plant health and disease resistance. Using a slow-release, balanced fertilizer (10-10-10) during the growing season provides essential nutrients. Avoiding excess nitrogen prevents lush, susceptible growth. Foliar feeding with seaweed or fish emulsion every 4-6 weeks boosts the plant’s immune system.
Watering Techniques
Proper watering techniques are crucial for long-term hibiscus care. I water deeply but infrequently, allowing the top inch of soil to dry between waterings. Using drip irrigation or soaker hoses keeps foliage dry, reducing the risk of fungal infections. Watering early in the morning allows leaves to dry before nightfall, further minimizing disease risk.
Companion Planting
Implementing companion planting strategies enhances the long-term health of hibiscus plants. I plant marigolds, nasturtiums, or garlic near hibiscus to repel pests naturally. These companion plants also attract beneficial insects that prey on common hibiscus pests, creating a balanced ecosystem in the garden.
Regular Monitoring
Consistent monitoring is key to maintaining healthy hibiscus plants. I inspect leaves, stems, and flowers weekly for signs of disease or pest infestation. Early detection allows for prompt intervention, preventing the spread of issues to other parts of the plant or neighboring plants.
Climate Adaptation
Adapting care practices to local climate conditions ensures long-term hibiscus health. In colder regions, I provide winter protection by mulching heavily around the base and covering plants during frost. In hot, dry climates, I increase watering frequency and provide afternoon shade to prevent heat stress and leaf scorch.
Conclusion
Black spots on hibiscus leaves can be alarming but with the right knowledge and care they’re manageable. I’ve shared strategies to identify diagnose and treat this common issue focusing on both immediate solutions and long-term prevention. By implementing proper watering techniques improving soil health and maintaining vigilant pest control you’ll be well-equipped to keep your hibiscus thriving. Remember that consistent care and regular monitoring are key to catching problems early. With these tips in mind you can enjoy beautiful healthy hibiscus plants that will be the envy of your garden for years to come.