How to Plant Hibiscus Cuttings: A Step-by-Step Guide for Gardeners
I’ve always been captivated by the vibrant beauty of hibiscus flowers. Their large, colorful blooms can instantly transform any garden into a tropical paradise. But did you know that you can easily propagate these stunning plants from cuttings? It’s a cost-effective way to expand your hibiscus collection and share the joy with fellow gardeners.
Understanding Hibiscus Cuttings
Hibiscus cuttings are an effective way to propagate new plants from existing ones. They’re taken from healthy, mature hibiscus plants and can grow into full-sized shrubs with proper care.
Types of Hibiscus Suitable for Propagation
Several hibiscus varieties thrive when propagated through cuttings:
- Tropical hibiscus (Hibiscus rosa-sinensis): Known for large, colorful flowers
- Hardy hibiscus (Hibiscus moscheutos): Cold-resistant with dinner plate-sized blooms
- Rose of Sharon (Hibiscus syriacus): Deciduous shrub with smaller flowers
- Chinese hibiscus (Hibiscus rosa-sinensis): Popular for its vibrant, long-lasting blooms
Each type has unique characteristics, but they all respond well to cutting propagation. I’ve had success with tropical hibiscus cuttings in my garden, which produce stunning red and pink flowers.
Best Time to Take Cuttings
Timing is crucial for successful hibiscus propagation:
- Spring to early summer: Optimal for most hibiscus varieties
- Morning: Best time of day to take cuttings (plants are well-hydrated)
- Active growth phase: Ensures cuttings have enough energy to root
| Season | Suitability for Cuttings |
|---|---|
| Spring | Excellent |
| Summer | Good |
| Fall | Fair |
| Winter | Poor |
Taking cuttings during the plant’s active growth phase increases the chances of successful rooting. Avoid taking cuttings during flowering periods, as the plant’s energy is focused on bloom production rather than root development.
Preparing for Planting
Proper preparation is key to successful hibiscus propagation. I’ll guide you through gathering essential tools and selecting healthy parent plants to ensure your cuttings have the best chance of thriving.
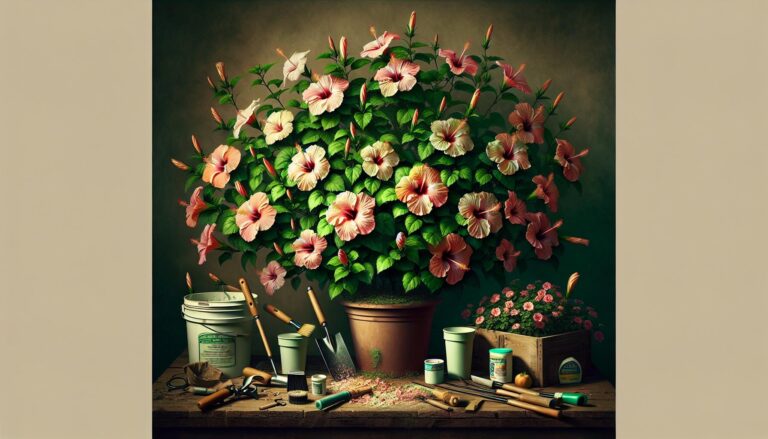
Gathering Necessary Tools and Materials
To propagate hibiscus cuttings, you’ll need:
- Sharp, clean pruning shears
- Rooting hormone powder or gel
- Small pots (3-4 inches in diameter)
- Well-draining potting mix
- Clear plastic bags
- Plant labels
- Watering can with a fine nozzle
Pro tip: Sterilize your pruning shears with rubbing alcohol before taking cuttings to prevent disease transmission.
Selecting Healthy Parent Plants
Choosing the right parent plant is crucial for successful propagation. Here’s what to look for:
- Vigor: Select plants with robust growth and deep green foliage.
- Disease-free: Avoid plants with yellowing leaves, spots, or signs of pests.
- Maturity: Choose plants that are at least 2-3 years old for better rooting success.
- Non-flowering: Pick stems that aren’t currently producing flowers or buds.
Remember, the health of your cuttings directly depends on the parent plant’s condition. In my experience, cuttings from vigorous plants root faster and produce stronger offspring.
Taking Hibiscus Cuttings
Taking hibiscus cuttings is a simple process that requires precision and care. With the right techniques, you’ll increase your chances of successful propagation. Here’s how to do it effectively:
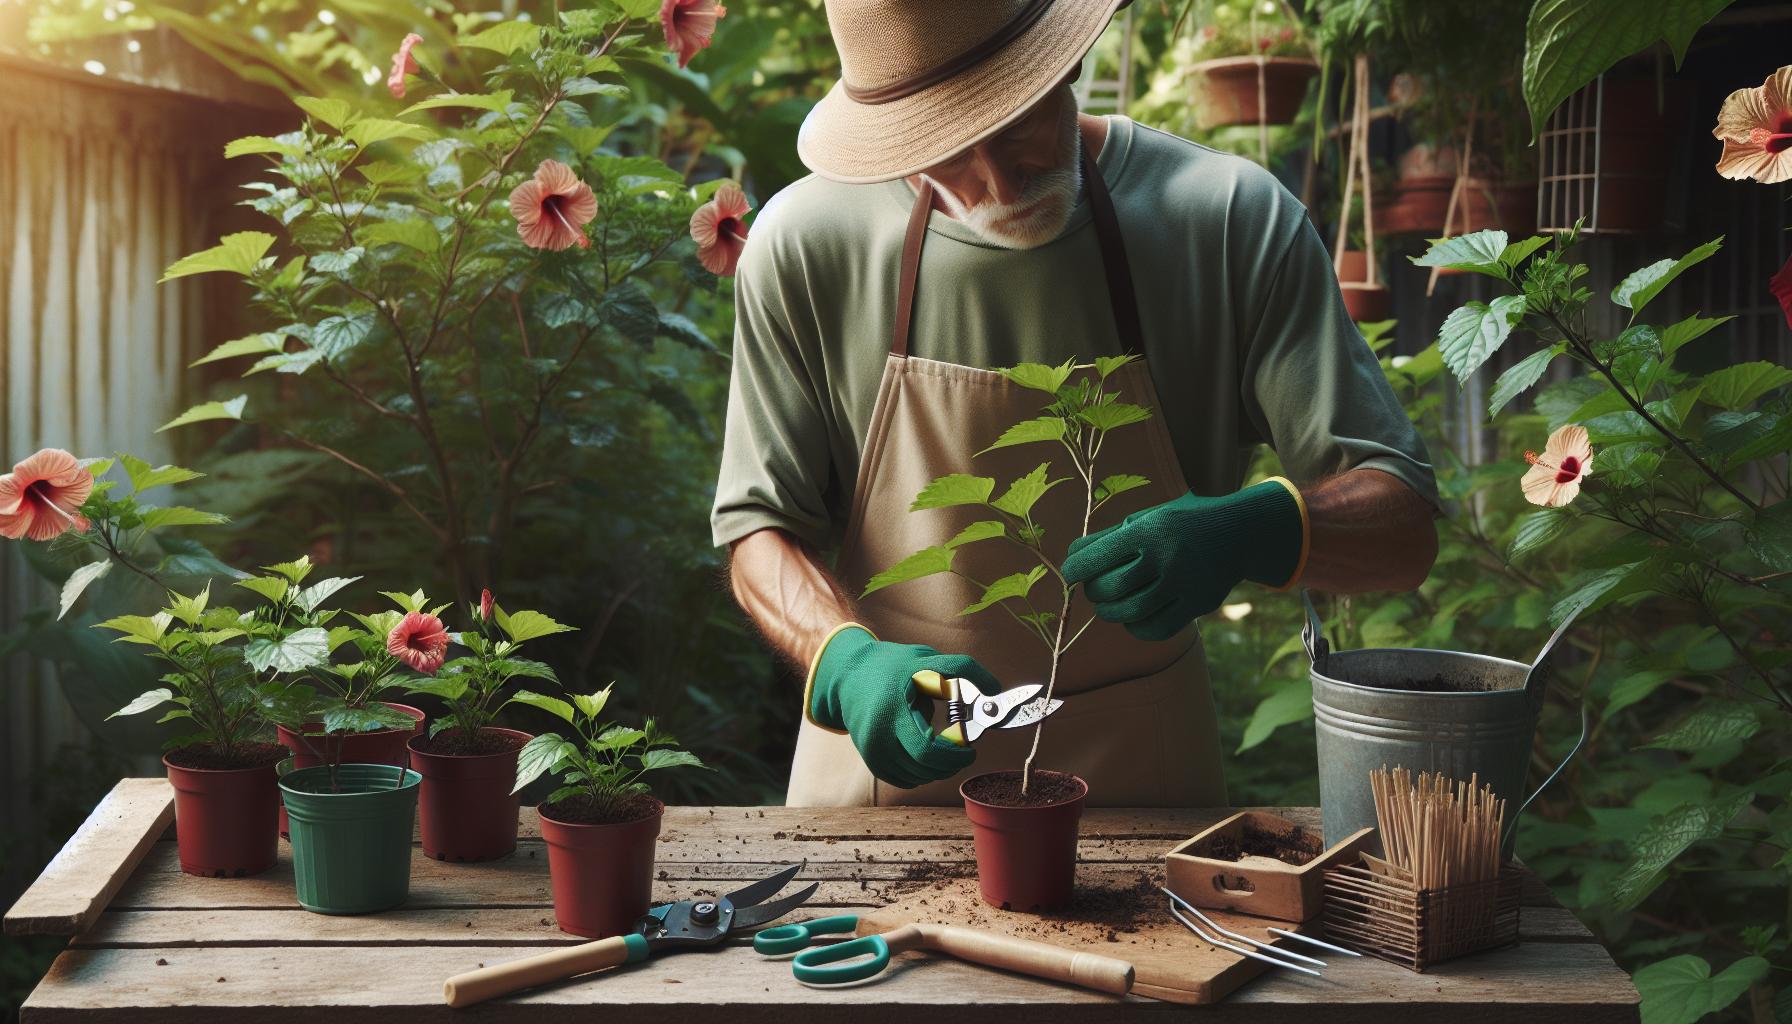
Proper Cutting Techniques
To take hibiscus cuttings:
- Select a healthy, non-flowering stem
- Make a clean, angled cut just below a leaf node
- Use sharp, sterilized pruning shears
- Cut early in the morning when the plant is well-hydrated
- Choose stems that are 4-6 inches long
Avoid crushing or damaging the stem while cutting. A clean cut promotes faster healing and root development. I’ve found that making the cut at a 45-degree angle increases the surface area for water absorption and root growth.
Ideal Length and Leaf Removal
For optimal results:
- Cut stems to 4-6 inches in length
- Remove lower leaves, keeping only 2-3 sets at the top
- Trim large leaves by half to reduce water loss
Removing lower leaves prevents them from rotting in the soil and focuses the cutting’s energy on root development. I’ve learned that leaving too many leaves can stress the cutting, reducing its chances of successful rooting.
Pro tip: If the stem has multiple nodes, make cuts just below each node to create multiple cuttings from a single stem.
Remember, the health of your cuttings directly impacts their rooting success. By following these techniques, you’ll set a strong foundation for propagating your hibiscus plants.
Rooting Hibiscus Cuttings
Rooting hibiscus cuttings is a crucial step in propagation. It’s where the cutting develops roots, transforming into a new plant. Here’s how to set up your cuttings for success:
Choosing the Right Rooting Medium
The rooting medium provides support and moisture for your hibiscus cuttings. I’ve found a mix of peat moss and perlite works best. This combination retains moisture while allowing air circulation.
- Peat moss: Holds water and nutrients
- Perlite: Improves drainage and aeration
- Ratio: 1:1 peat moss to perlite
Fill small pots or trays with this mix. Make sure they have drainage holes. Pre-moisten the medium before inserting cuttings. This prevents air pockets and ensures good contact between the cutting and the medium.
Using Rooting Hormone for Better Results
Rooting hormone boosts your chances of successful propagation. It stimulates root growth at the cut end of the stem.
- Pour a small amount of rooting hormone into a separate container
- Dip the cut end of the hibiscus stem about 1 inch into the hormone
- Tap off excess powder to avoid clumping
- Make a hole in the rooting medium with a pencil
- Insert the cutting into the hole and gently firm the medium around it
Don’t skip this step. Rooting hormone significantly increases rooting success rates. I’ve seen hibiscus cuttings root up to 50% faster with hormone treatment.
Remember, cleanliness is key. Use a separate container for the hormone to avoid contamination. Dispose of any unused portion after each use.
Planting Hibiscus Cuttings
Planting hibiscus cuttings is a straightforward process that requires attention to detail. With the right preparation and technique, you’ll set your cuttings up for successful growth.
Preparing Containers or Planting Areas
Selecting the right containers is crucial for hibiscus cuttings. I prefer using 4-inch pots with drainage holes. Here’s what you need to do:
- Clean pots thoroughly with soap and water
- Fill pots with a well-draining potting mix
- Create small holes in the soil for each cutting
- Moisten the soil before planting
For outdoor planting, choose a location with:
- Partial to full sun exposure
- Well-draining soil
- Protection from strong winds
Prepare the ground by:
- Removing weeds and debris
- Loosening the soil to a depth of 6-8 inches
- Adding organic matter to improve drainage
Step-by-Step Planting Process
Follow these steps to plant your hibiscus cuttings:
- Dip the cut end in rooting hormone
- Gently insert the cutting into the prepared hole
- Firm the soil around the base
- Water thoroughly
- Place a clear plastic bag over the pot to create a greenhouse effect
- Keep the soil consistently moist but not waterlogged
- Remove the plastic bag for a few hours daily to prevent mold growth
- After 4-6 weeks, test for root development by gently tugging the cutting
Outdoor planting steps:
- Space cuttings 18-24 inches apart
- Plant at the same depth as they were in their original container
- Water deeply after planting
- Apply a 2-inch layer of mulch around the base
Remember, patience is key. Hibiscus cuttings typically take 6-8 weeks to establish roots. Maintain consistent care, and you’ll soon have thriving hibiscus plants.
Caring for Newly Planted Cuttings
Newly planted hibiscus cuttings require careful attention to thrive. I’ve found that providing the right conditions during this crucial stage sets the foundation for healthy, vibrant plants.
Watering and Humidity Requirements
Hibiscus cuttings need consistent moisture to develop roots. I water them daily, keeping the soil moist but not waterlogged. A light misting of the leaves helps maintain humidity. Here’s a simple watering routine:
- Morning: Light watering of soil
- Midday: Mist leaves
- Evening: Check soil moisture, water if needed
To boost humidity, I often cover the cuttings with a clear plastic bag, creating a mini greenhouse effect. This method traps moisture and warmth, promoting faster root development.
Providing Adequate Light and Temperature
Hibiscus cuttings thrive in bright, indirect light. Direct sunlight can scorch the tender leaves, while insufficient light hinders growth. I place my cuttings in a spot that receives:
- 6-8 hours of filtered sunlight daily
- Protection from harsh afternoon rays
Temperature plays a crucial role in root formation. Hibiscus cuttings prefer warmth:
| Temperature Range | Effect on Cuttings |
|---|---|
| 70-80°F (21-27°C) | Optimal for rooting |
| Below 60°F (15°C) | Slows growth |
| Above 85°F (29°C) | May cause stress |
To maintain ideal temperatures, I use a heating mat under the planting tray. This consistent warmth encourages faster root development and increases the success rate of my cuttings.
Transplanting Rooted Cuttings
Once hibiscus cuttings have developed roots, it’s time to transplant them into larger containers or outdoor garden beds. This process requires careful timing and preparation to ensure the young plants thrive in their new environment.
When to Transplant
Transplanting hibiscus cuttings is best done when roots are 1-2 inches long. This typically occurs 4-6 weeks after planting. Check for root development by gently tugging on the cutting; resistance indicates root formation. Transplant on a cool, overcast day to minimize stress. Avoid transplanting during extreme weather conditions or when temperatures are above 80°F (27°C).
Hardening Off Process
Hardening off is crucial for acclimating rooted hibiscus cuttings to outdoor conditions. Here’s a step-by-step process:
- Start gradually: Place cuttings outdoors in a sheltered spot for 1-2 hours daily.
- Increase exposure: Extend outdoor time by 1-2 hours each day over a week.
- Protect from elements: Shield cuttings from direct sunlight, strong winds, and heavy rain.
- Monitor closely: Watch for signs of stress like wilting or leaf discoloration.
- Adjust watering: Reduce watering frequency as cuttings adapt to outdoor conditions.
- Night exposure: After 5-7 days, leave cuttings outside overnight if temperatures remain above 50°F (10°C).
- Full exposure: By day 7-10, cuttings should be ready for full-day outdoor exposure.
This process strengthens stems, thickens leaf cuticles, and prepares hibiscus cuttings for successful transplanting. Patience during hardening off pays off with healthier, more resilient plants.
Common Issues and Troubleshooting
Growing hibiscus cuttings can present challenges. Here’s how to address common problems and ensure successful propagation.
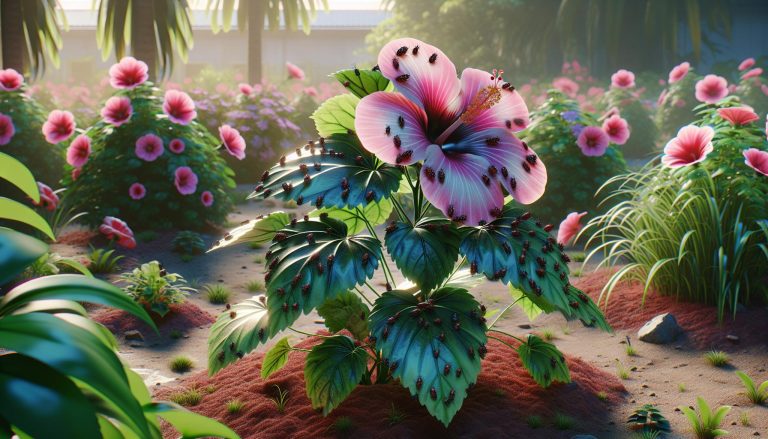
Dealing with Pests and Diseases
Hibiscus cuttings are vulnerable to various pests and diseases. I’ve found these strategies effective:
- Inspect cuttings daily for signs of infestation
- Remove affected leaves immediately
- Use neem oil for organic pest control
- Apply fungicides for powdery mildew or leaf spot
- Maintain proper air circulation to prevent fungal growth
For severe infestations, isolate affected cuttings to protect others. Regularly clean tools and containers to prevent disease spread.
Addressing Rooting Problems
Rooting issues can hinder hibiscus cutting growth. Here are common problems and solutions:
- No root development:
- Check hormone application
- Ensure proper humidity and moisture
- Verify cutting is from suitable stem section
- Rotting cuttings:
- Reduce watering frequency
- Improve drainage in growing medium
- Remove affected parts promptly
- Slow root growth:
- Increase bottom heat (70-75°F ideal)
- Adjust light exposure (bright, indirect light best)
- Consider using a rooting hormone with higher concentration
If cuttings show no signs of rooting after 4-6 weeks, it’s often best to start fresh with new cuttings. Remember, patience is key in propagation.
Conclusion
Planting hibiscus cuttings is a rewarding way to expand your garden. With the right techniques and care, you’ll soon have beautiful new plants. Remember to choose healthy parent plants, use proper cutting methods, and provide optimal growing conditions. Be patient and attentive during the rooting process. If you encounter issues, don’t get discouraged. Troubleshoot and try again. Soon, you’ll be enjoying a vibrant array of hibiscus flowers, all grown from your own cuttings. Happy gardening!